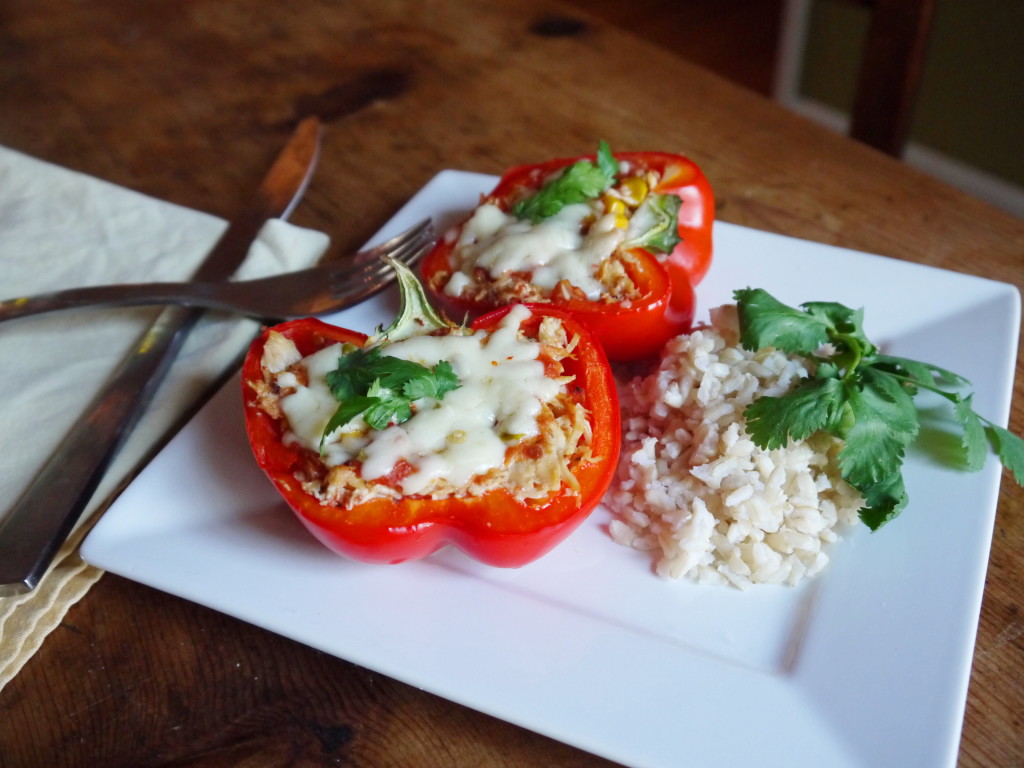
Using brown rice, lots of veggies, and chicken andouille sausage turns this flavorful comfort classic into something you can eat any night of the week!

 My first year out of college working for my consulting firm, I traveled to New Orleans from Washington, DC every week. It was a WILD ride full of jam-packed work weeks and wayyy too much Creole fare - I’ve discussed my (very unsurprising) weight gain here before. It was one of those projects where everyone went out to dinner with each other every night, and we tried pretty much every restaurant in the Big Easy. I got so tired of the ambiguous “gulf fish” or “red fish” on the menu, and I honestly started to cringe at the word po’ boy or jamabalaya or beignets. (I know, sounds impossible, right?)
 For months after leaving the project, I couldn’t eat any New Orleans-inspired food! But it’s been two years now since then, and I’m gingerly incorporating those flavors back into my diet. I decided to start with a healthier version of the classic red beans and rice. I had been envisioning a recipe like this for some time, and it was one of those which I knew was going to be a hit even before I tasted it. It smelled so good and the ingredients are pretty much fool-proof. It’s nothing fancy.
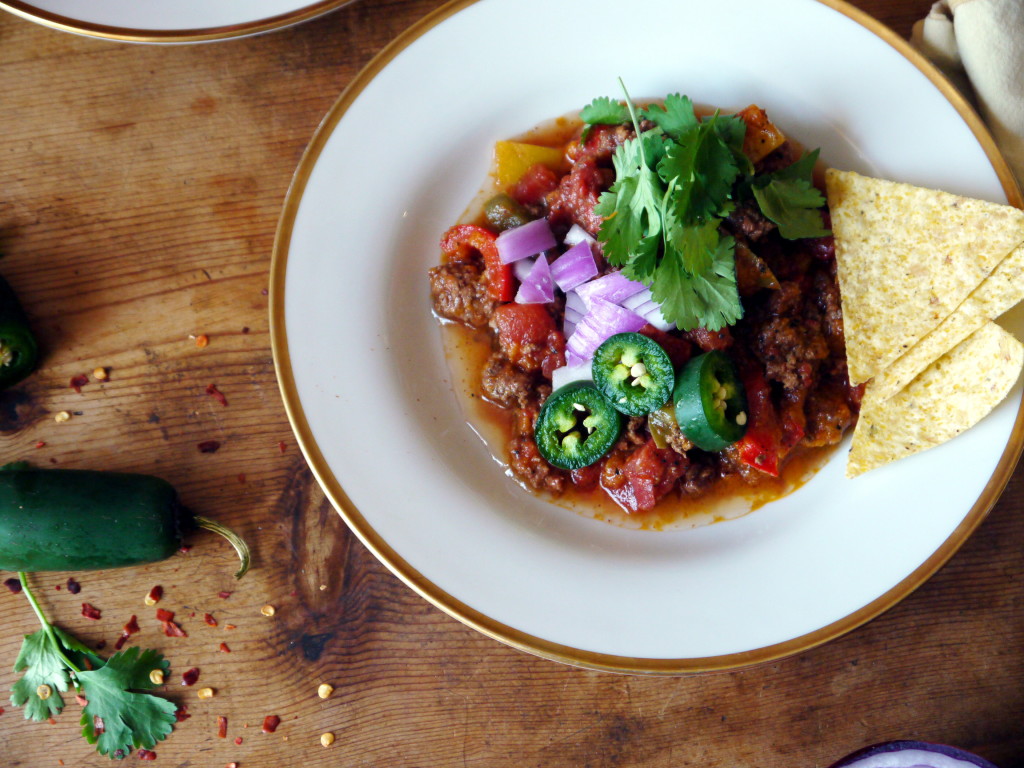
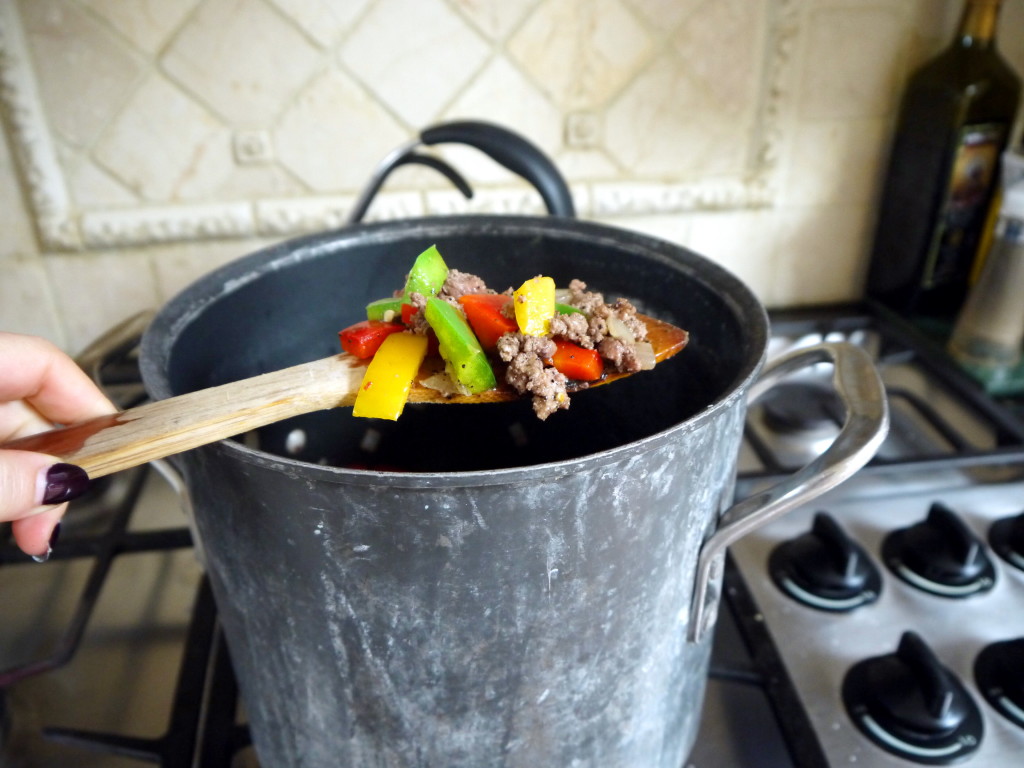
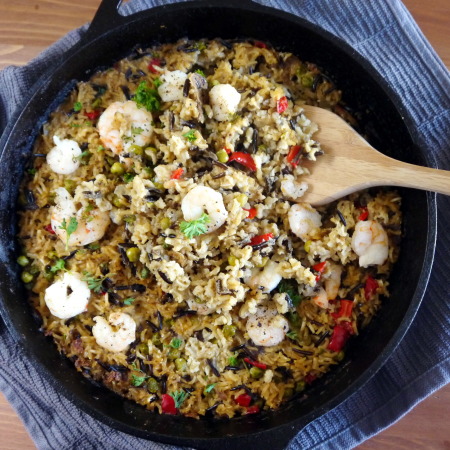
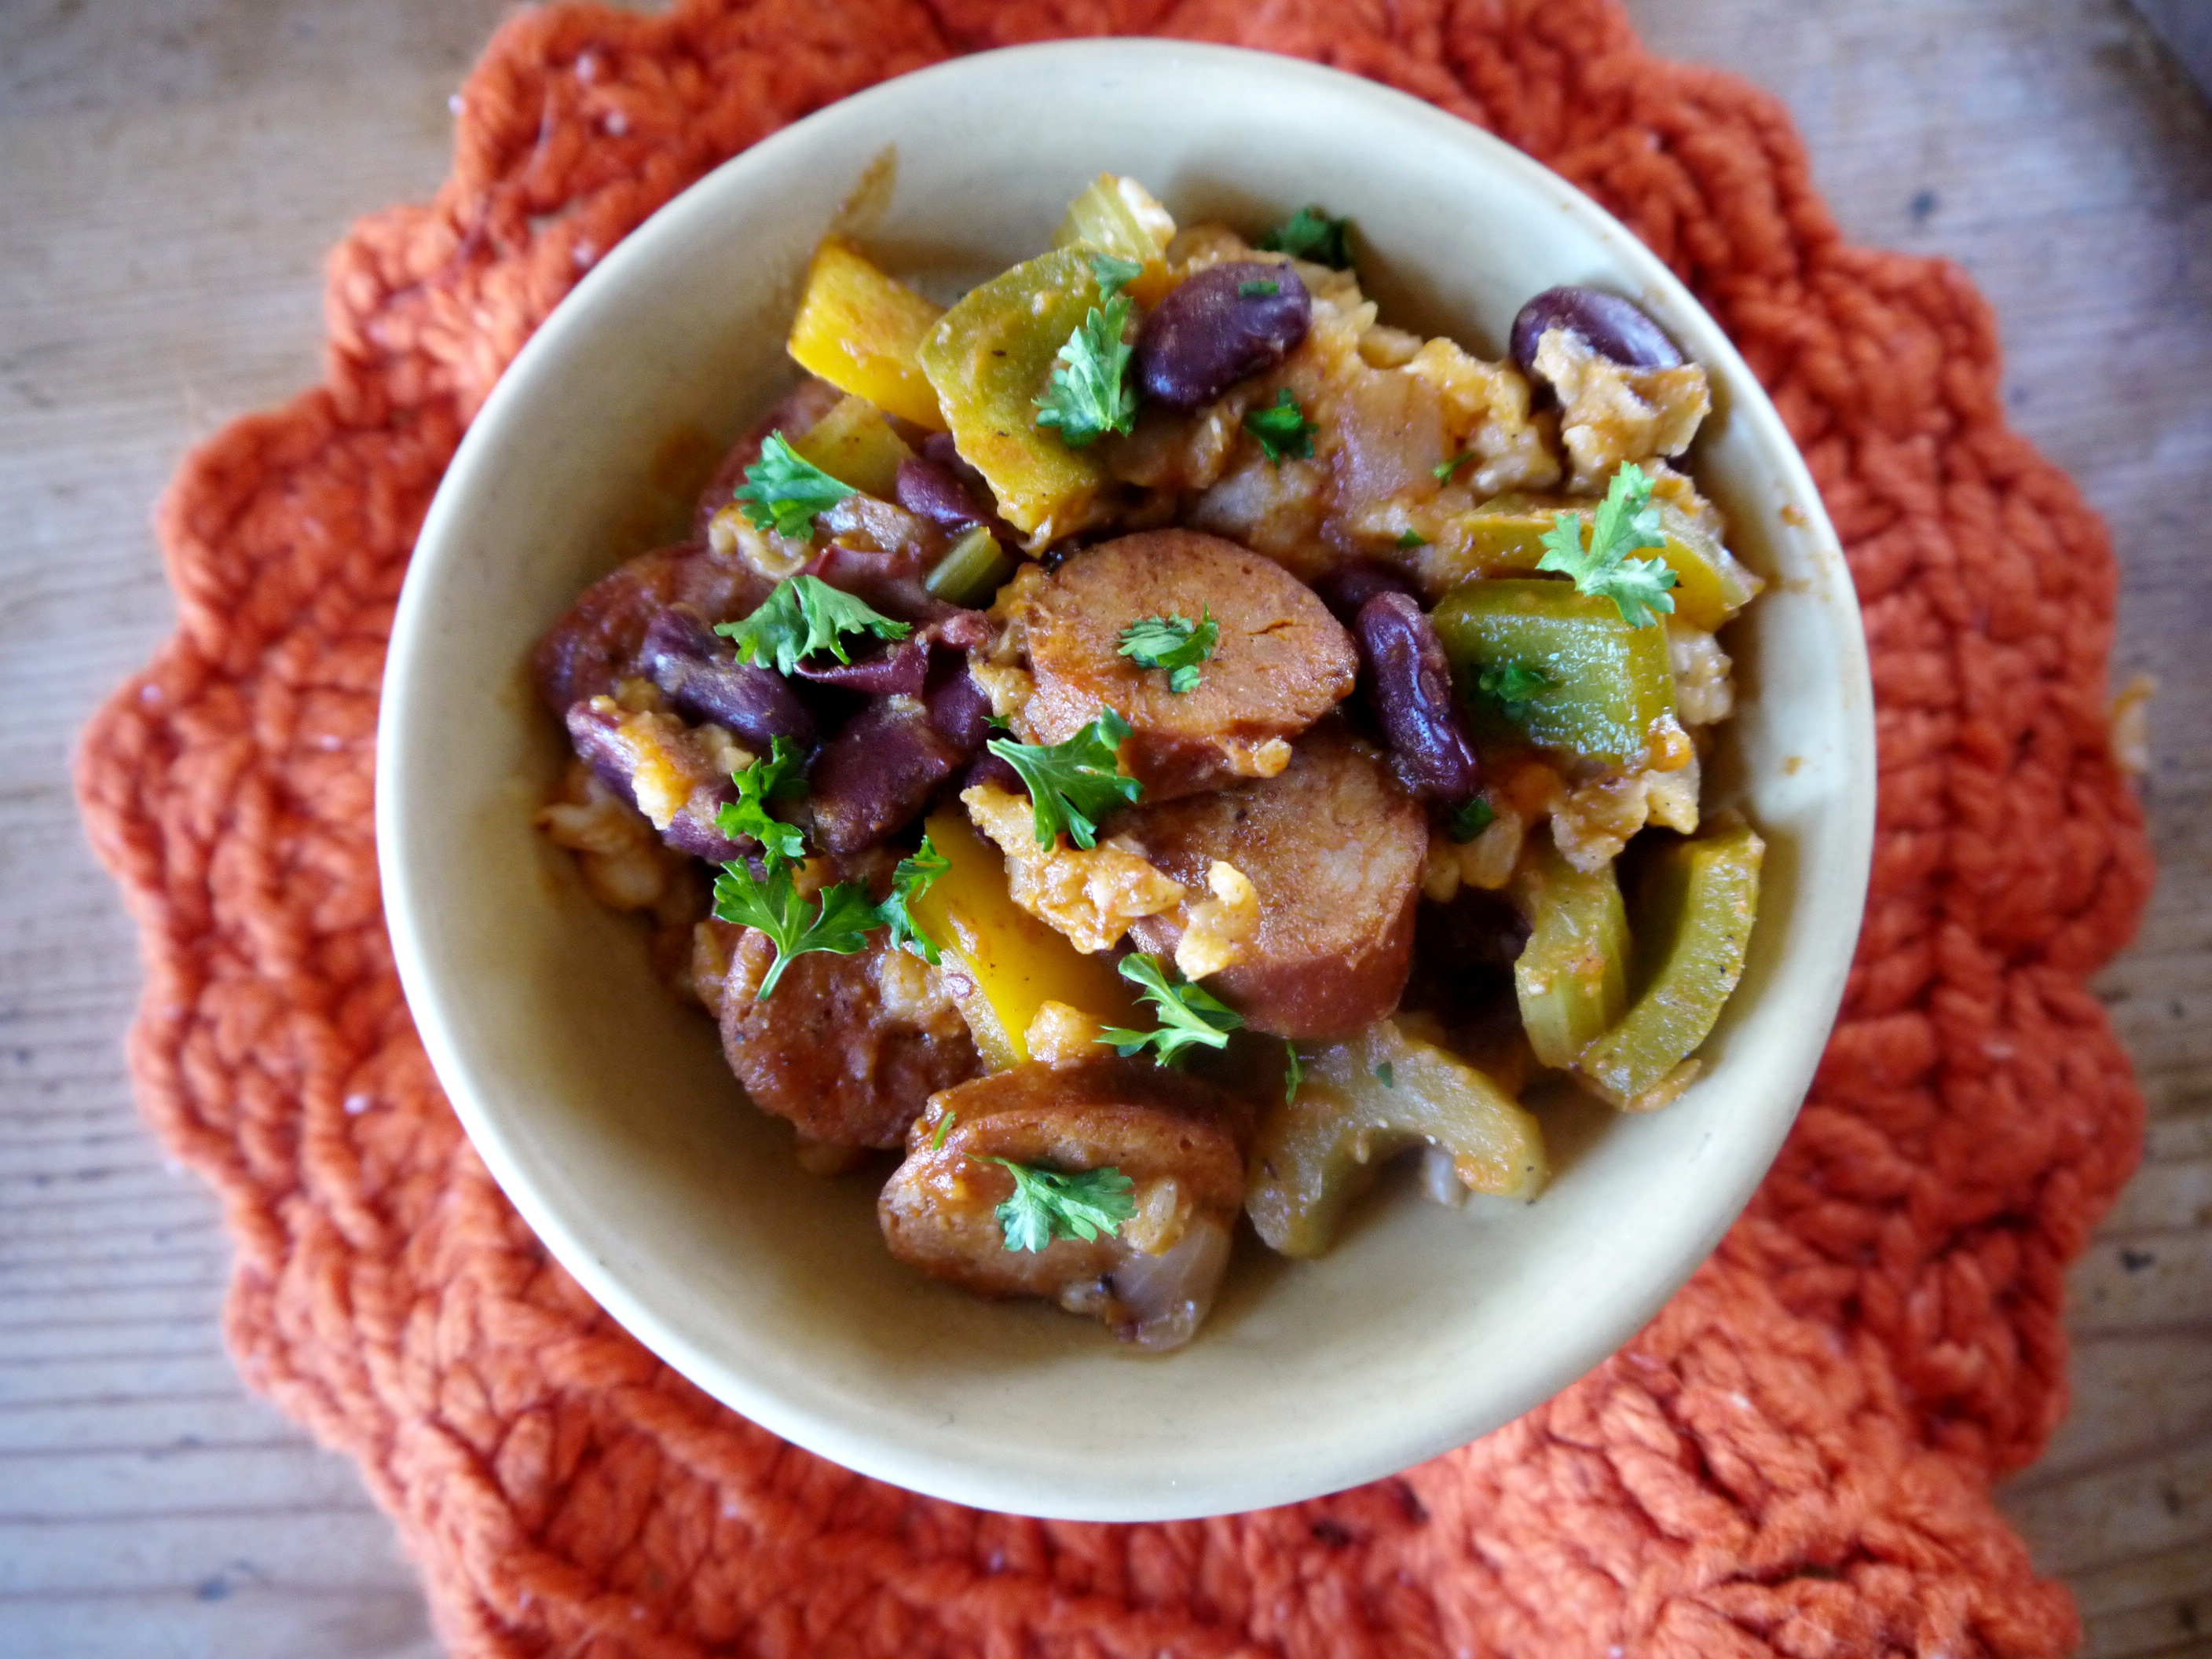
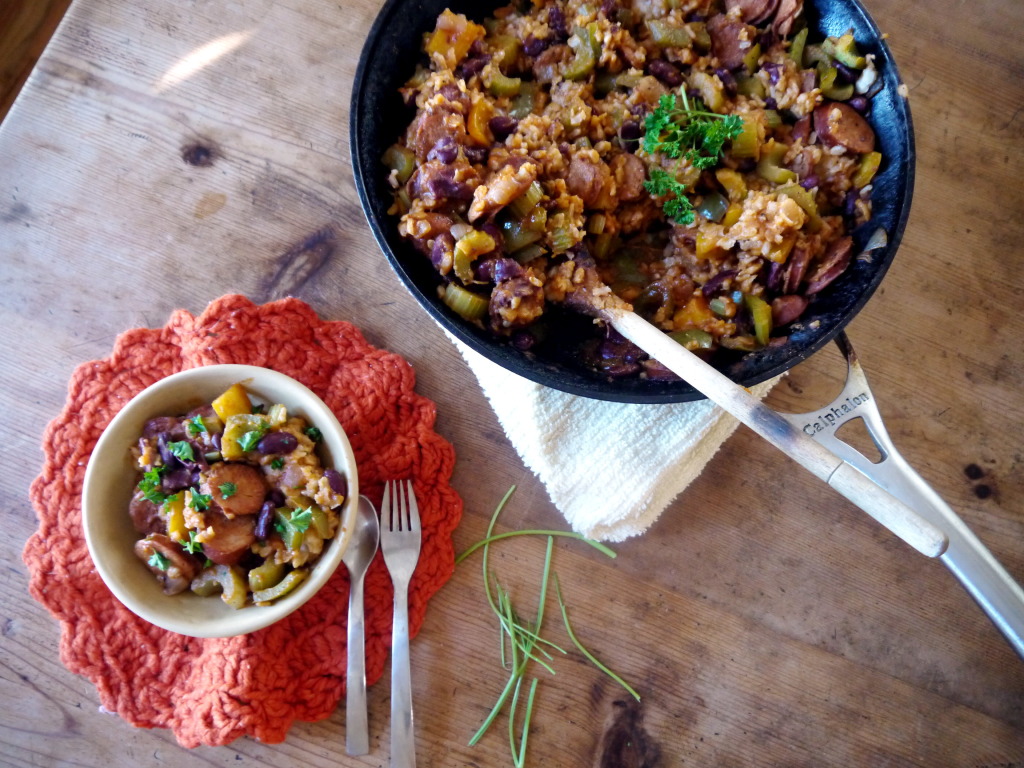
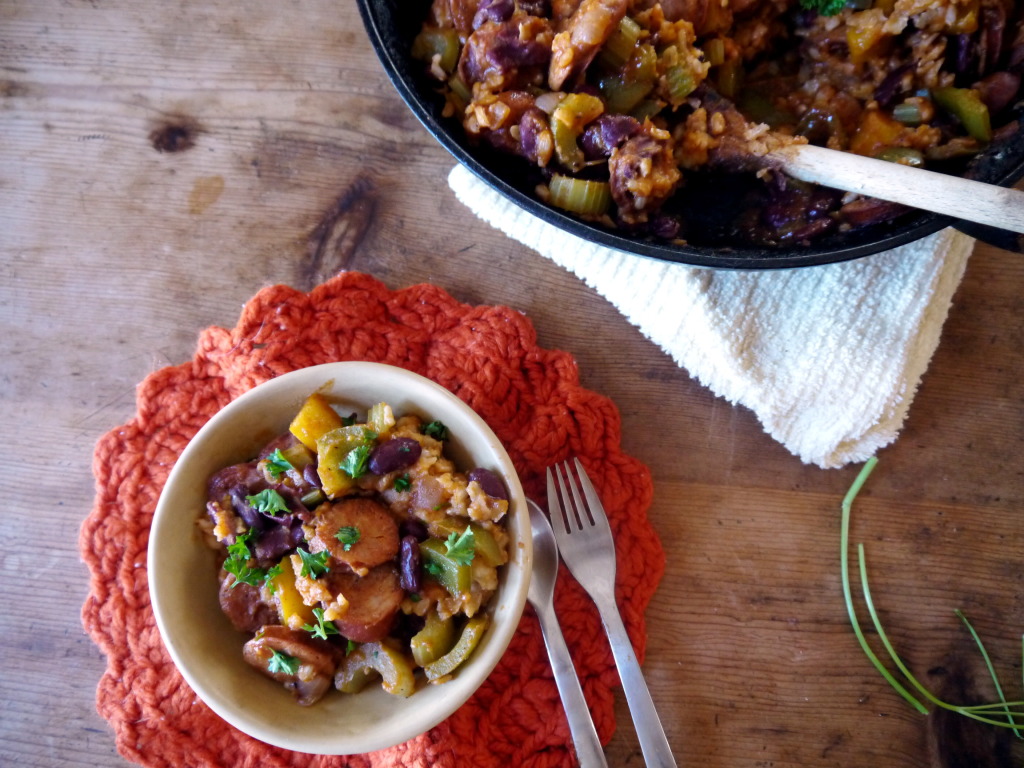
 This dish is made in one pan only, and is chock full of things that are good for you. Instead of the traditional white rice, I used brown! Instead of fatty pork andouille sausage and pork fat, I used chicken andouille sausage and olive oil. And I added in a ton of veggies - brightly colored peppers and onions and celery. Simmer all of that together in Cajun seasoning and you have yourself a super easy meal, and great leftovers too.
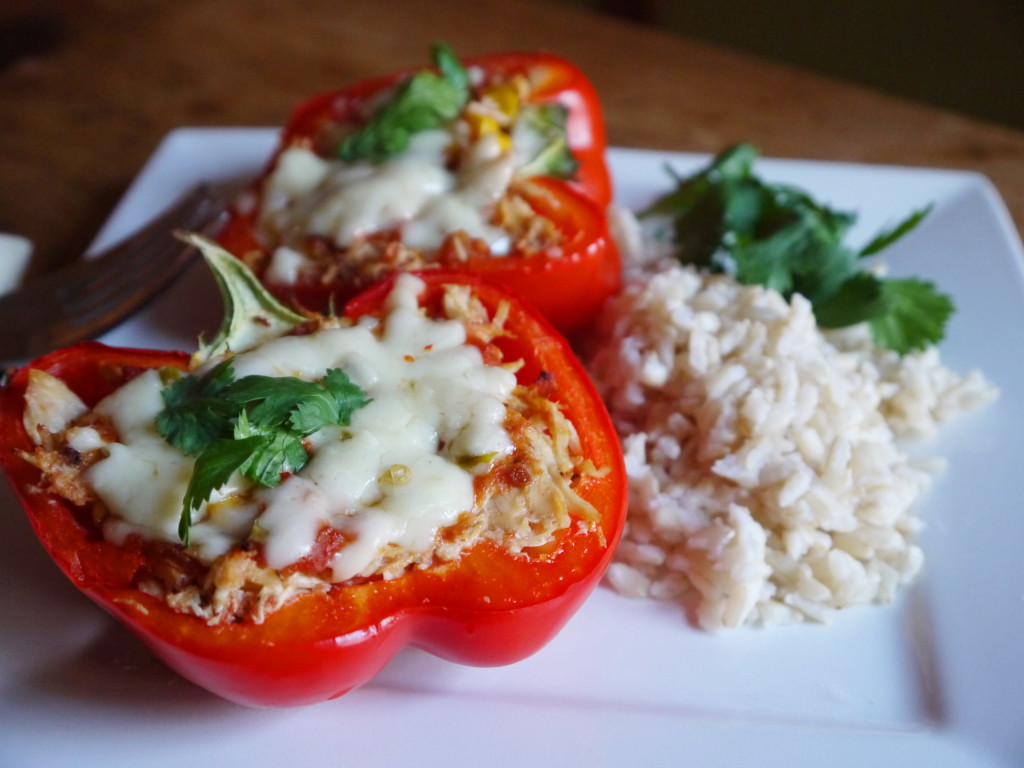
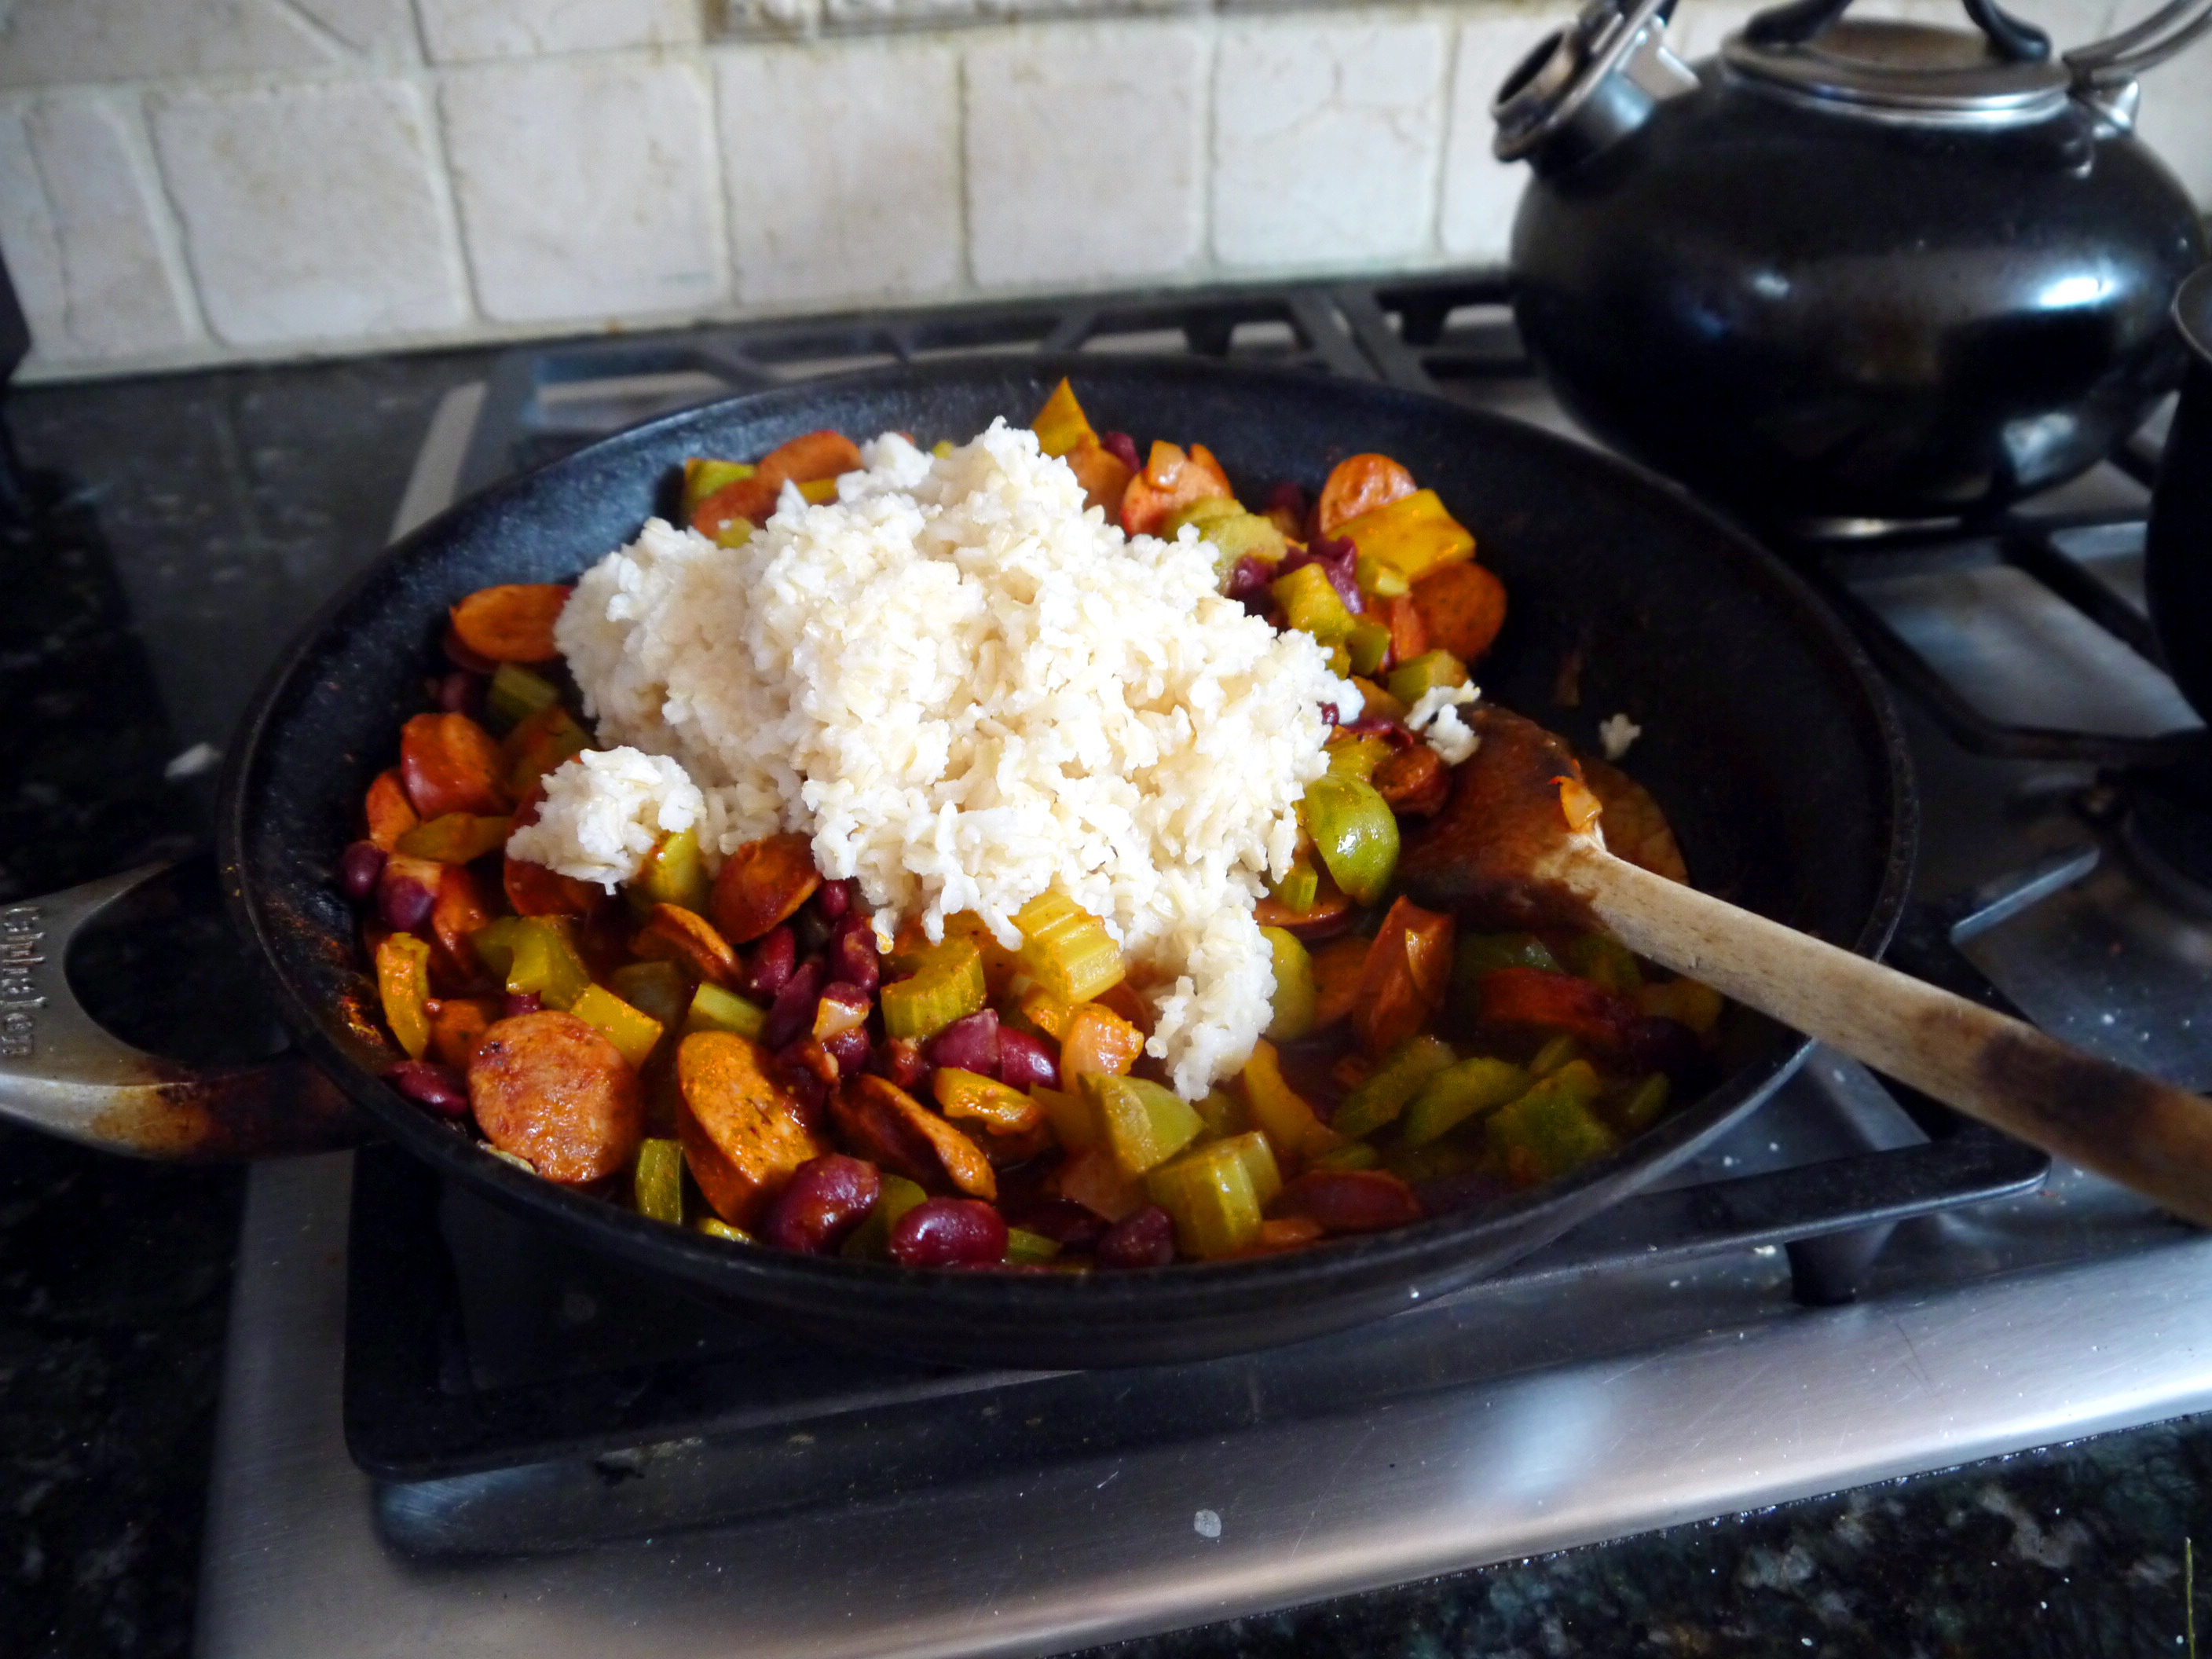
 My one caution with this recipe? You’re going to want to make a lot of this because it goes FAST at the dinner table. I was all expecting to have leftovers and that was a no-go. If you don’t have a big enough pan to mix the rice with the vegetables and red beans and sausage to let everything cook together, you can always spoon the rice onto the plate first and then cover with the good stuff. The downside there is that the rice can’t soak up all of the Cajun seasonings, but the flavors are still there!
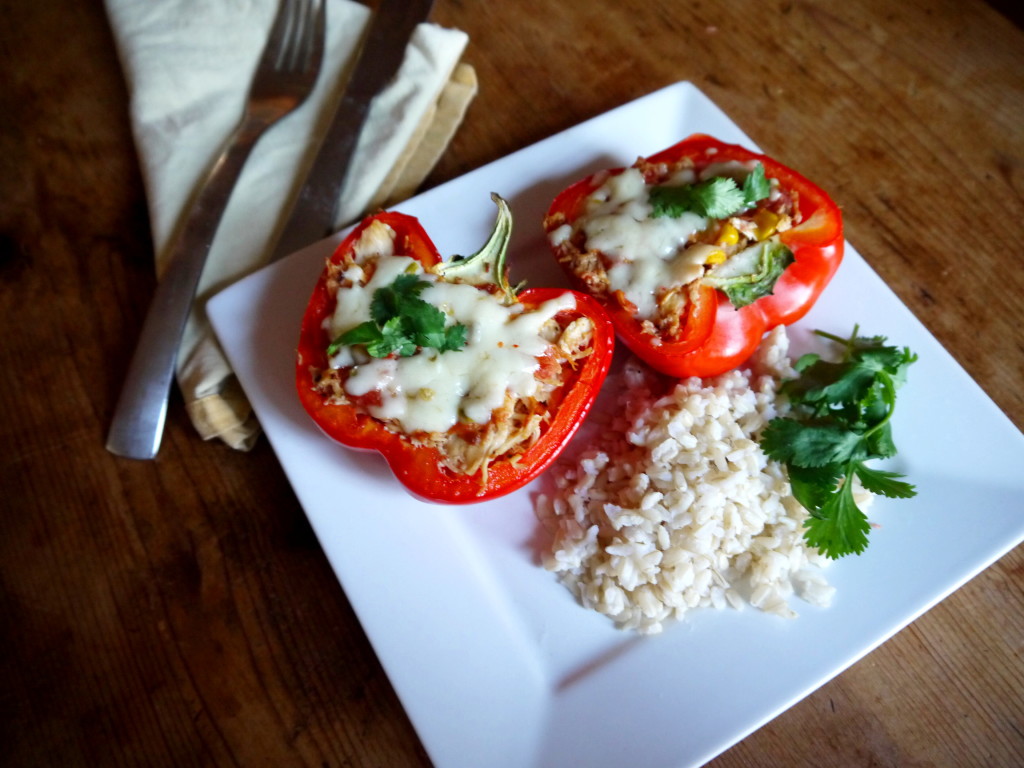
 There you have it! Weeknight cooking at its finest. Healthy, comforting, and makes great leftovers. What more could you want?
- 1 package andouille chicken sausage (I used Trader Joe's brand), sliced into rounds
- 1 can red kidney bean, drained and rinsed
- 1 green pepper, chopped
- 1 red pepper, chopped
- ¾ cup chopped celery
- 1 small white onion, diced
- ¾ cup tomato paste
- 1 tbsp Cajun seasoning
- 1 cup chicken broth
- 1 tsp olive oil
- 1½ cup cooked brown rice
- Optional: red pepper flakes, parsley for garnish
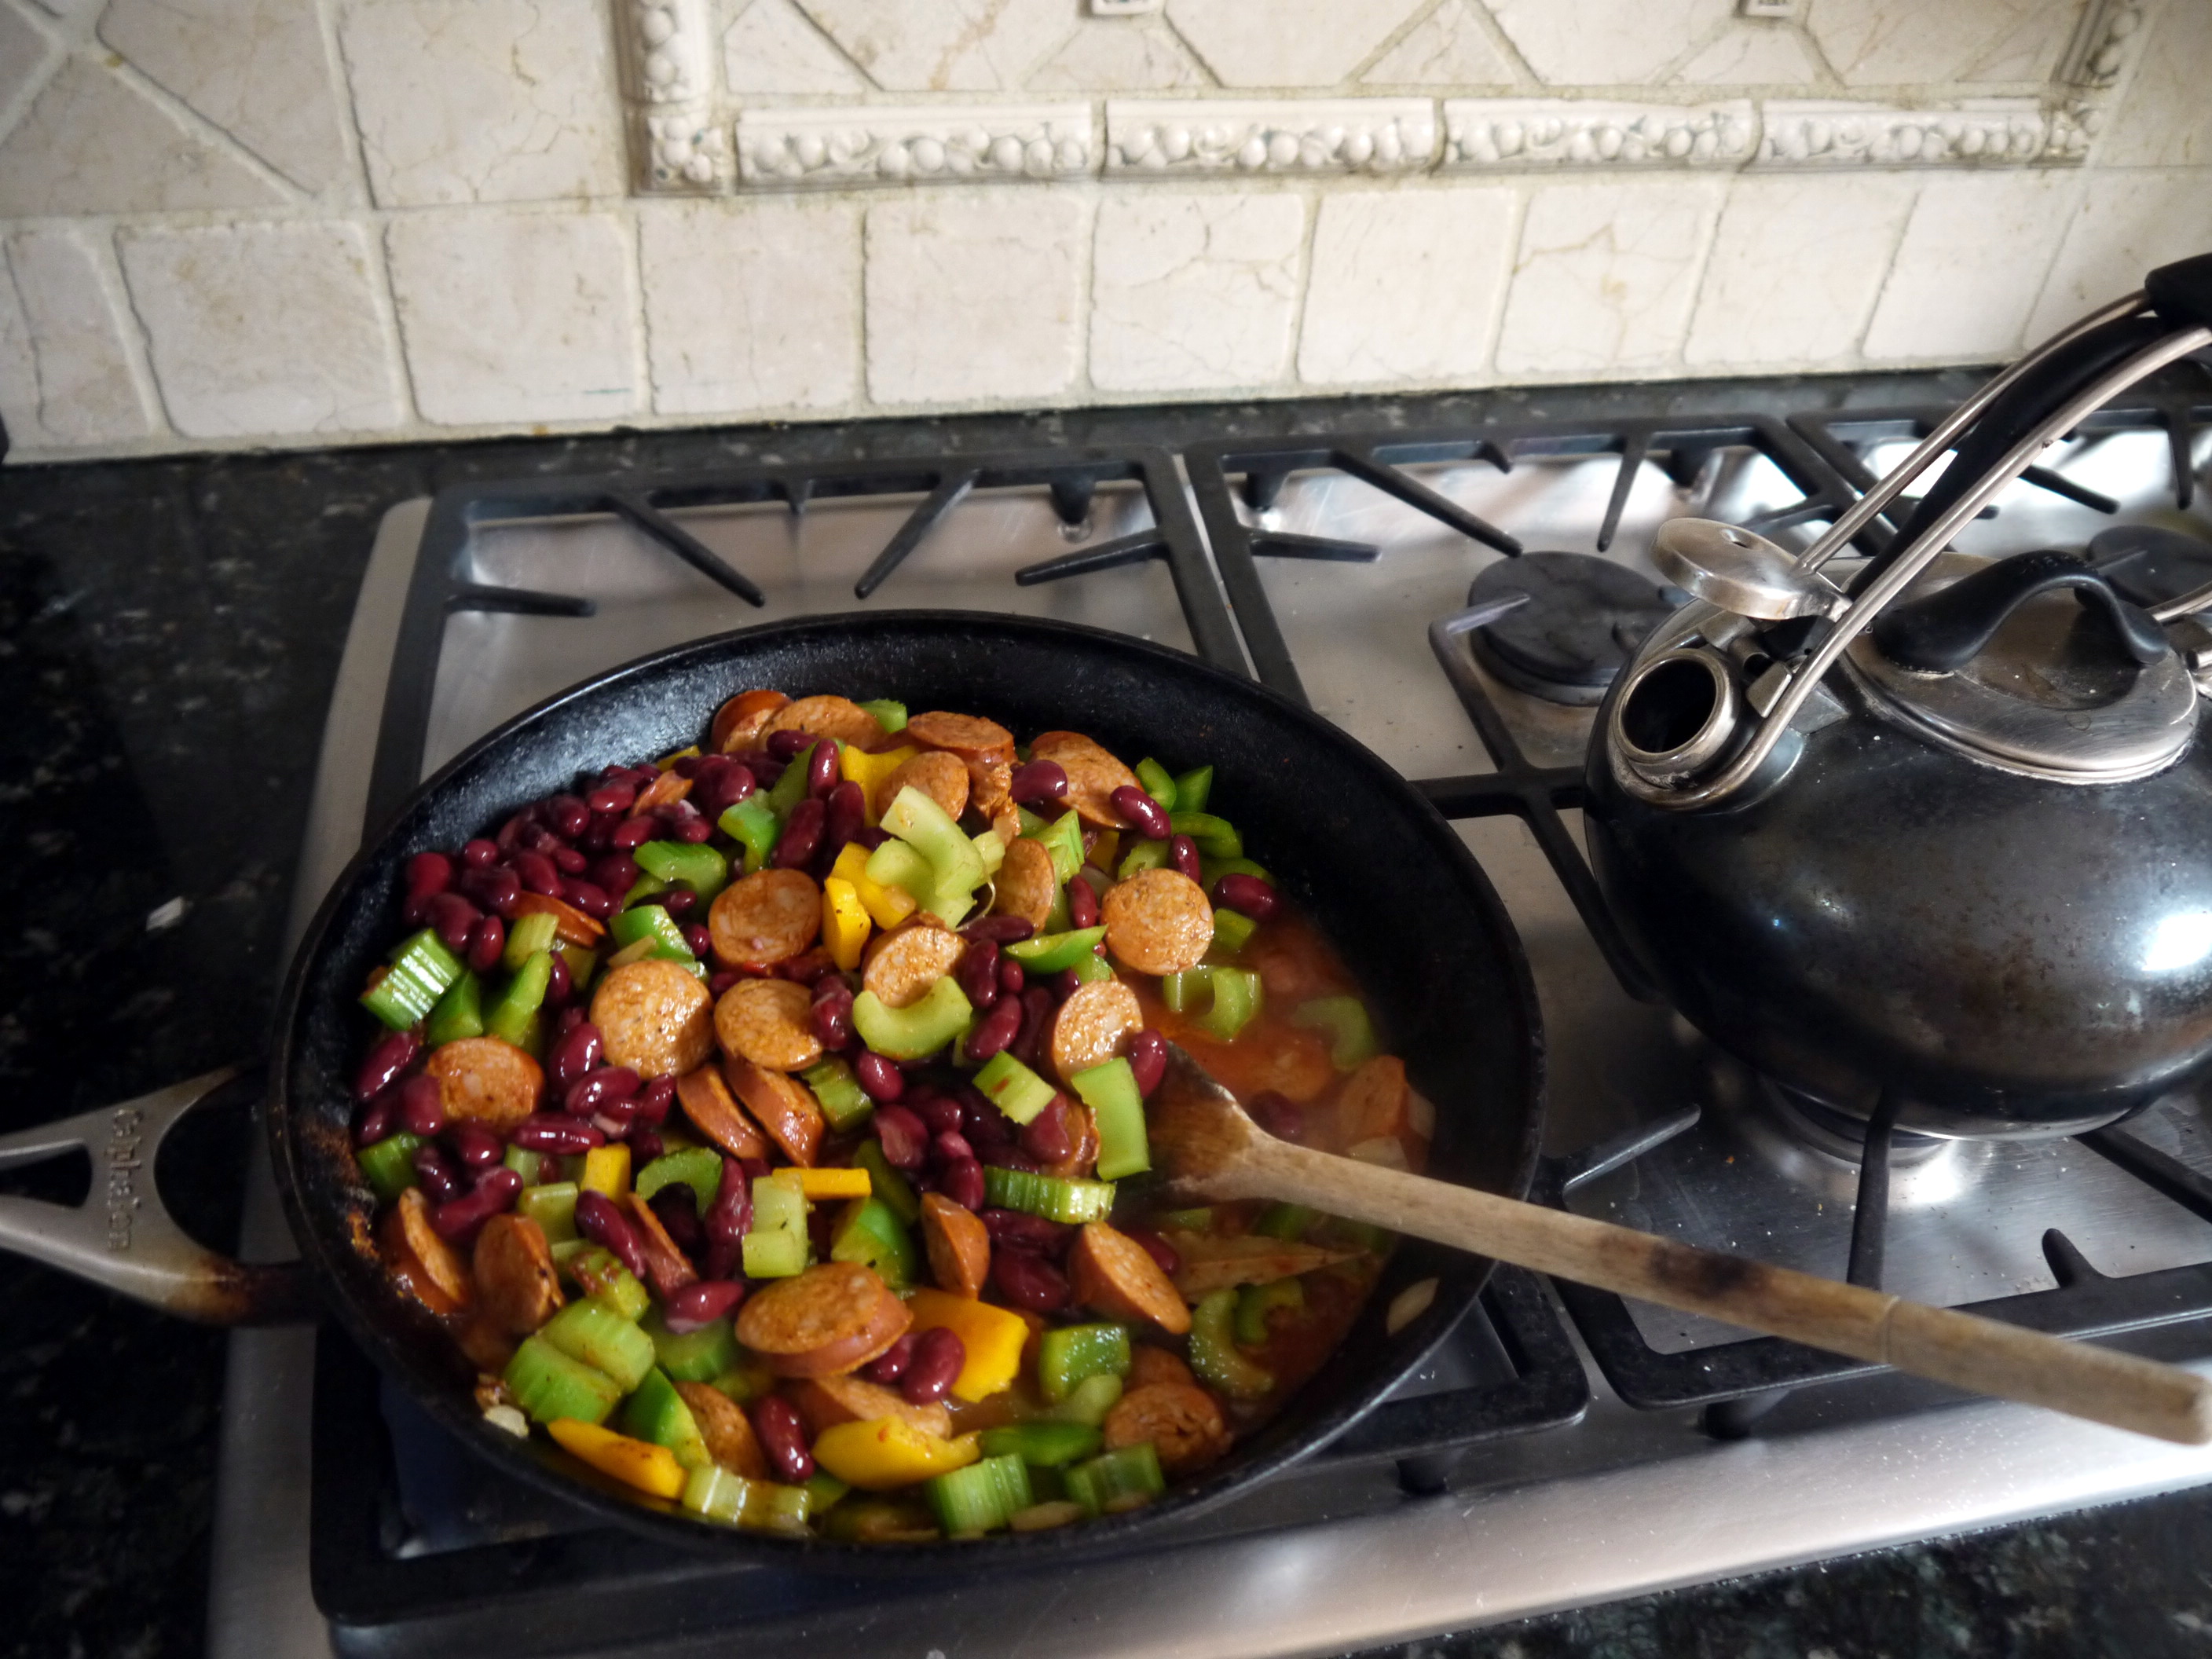
- In a large pan, cook sausage in the olive oil until lightly browned
- Add all vegetables, beans, tomato paste, and Cajun seasoning
- Add stock and bring to a boil
- Cover the pan and reduce heat to simmer for about 10 minutes
- Uncover and simmer for about 5 more minutes, until the mixture has thickened
- Stir in brown rice so absorb rest of sauce
- Serve and enjoy!