Hope you enjoy this hearty, veggie-laden recipe while I’m away! See you on Wednesday!
 When I search for recipes to make, I usually click “30 minutes or less” because let’s be honest, it’s actually going to take me double (or triple) that time. I generally shy away from recipes that take too long (ain’t nobody got time for that) or that require a laundry list of ingredients. I avoid buying a $10 jar of spices that I will only use for ONE specific Asian-inspired dish or recipes which call for 1 tsp of a million ingredients that will just go bad by the end of the week. So that’s why my blog generally sticks to simple, fresh, easy recipes - because I have to make them myself!
This…is not necessarily one of those recipes. My bad. This is one of those Sunday-night-dinner-recipes that you start prepping in the afternoon, there are quite a few steps and when you serve it you feel ACCOMPLISHED and there are zero leftovers because everyone eats it all because it’s that good. But don’t let that introduction scare you - while it’s a bit more time-intensive, there is no specialty skill required to make this vegetable-laden, hearty, no-noodle lasagna and the ingredient list is respectably short. It’s gluten free, low carb, and tastes rich and hearty. Shoutout to Skinnytaste for the inspiration for my take on this recipe! Check out that blog if you haven’t yet - really fantastic, flavorful recipes.
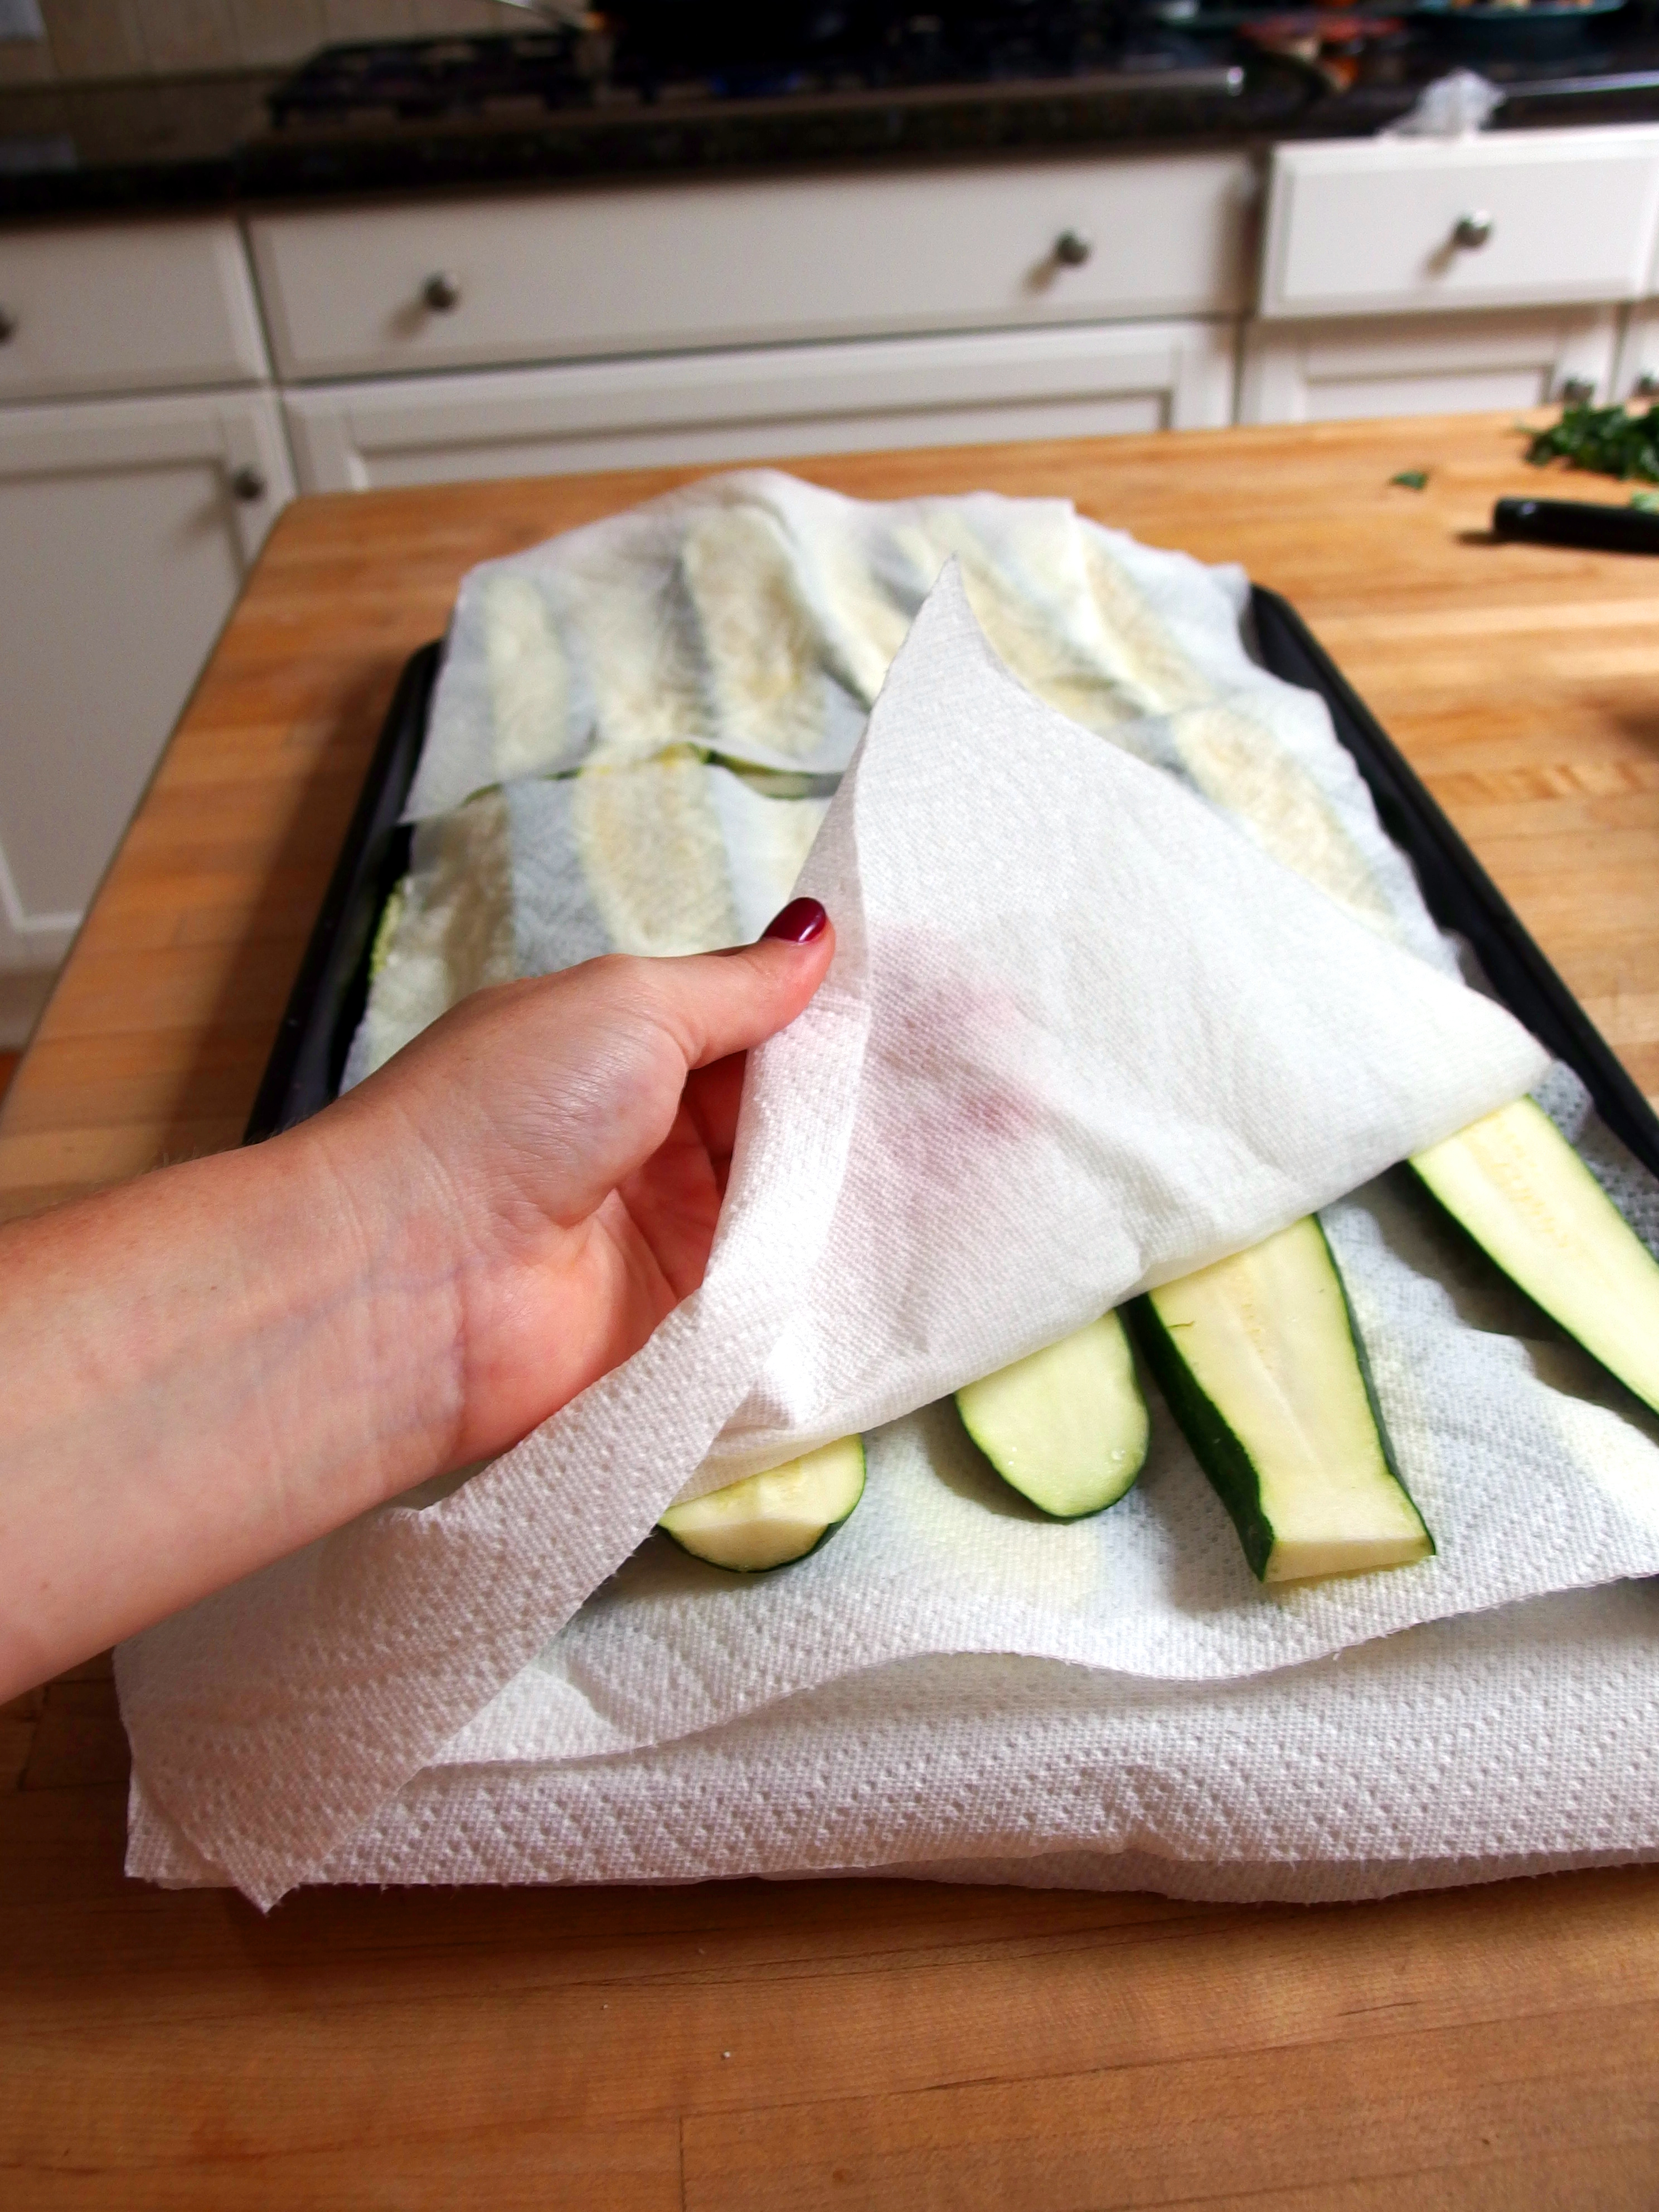

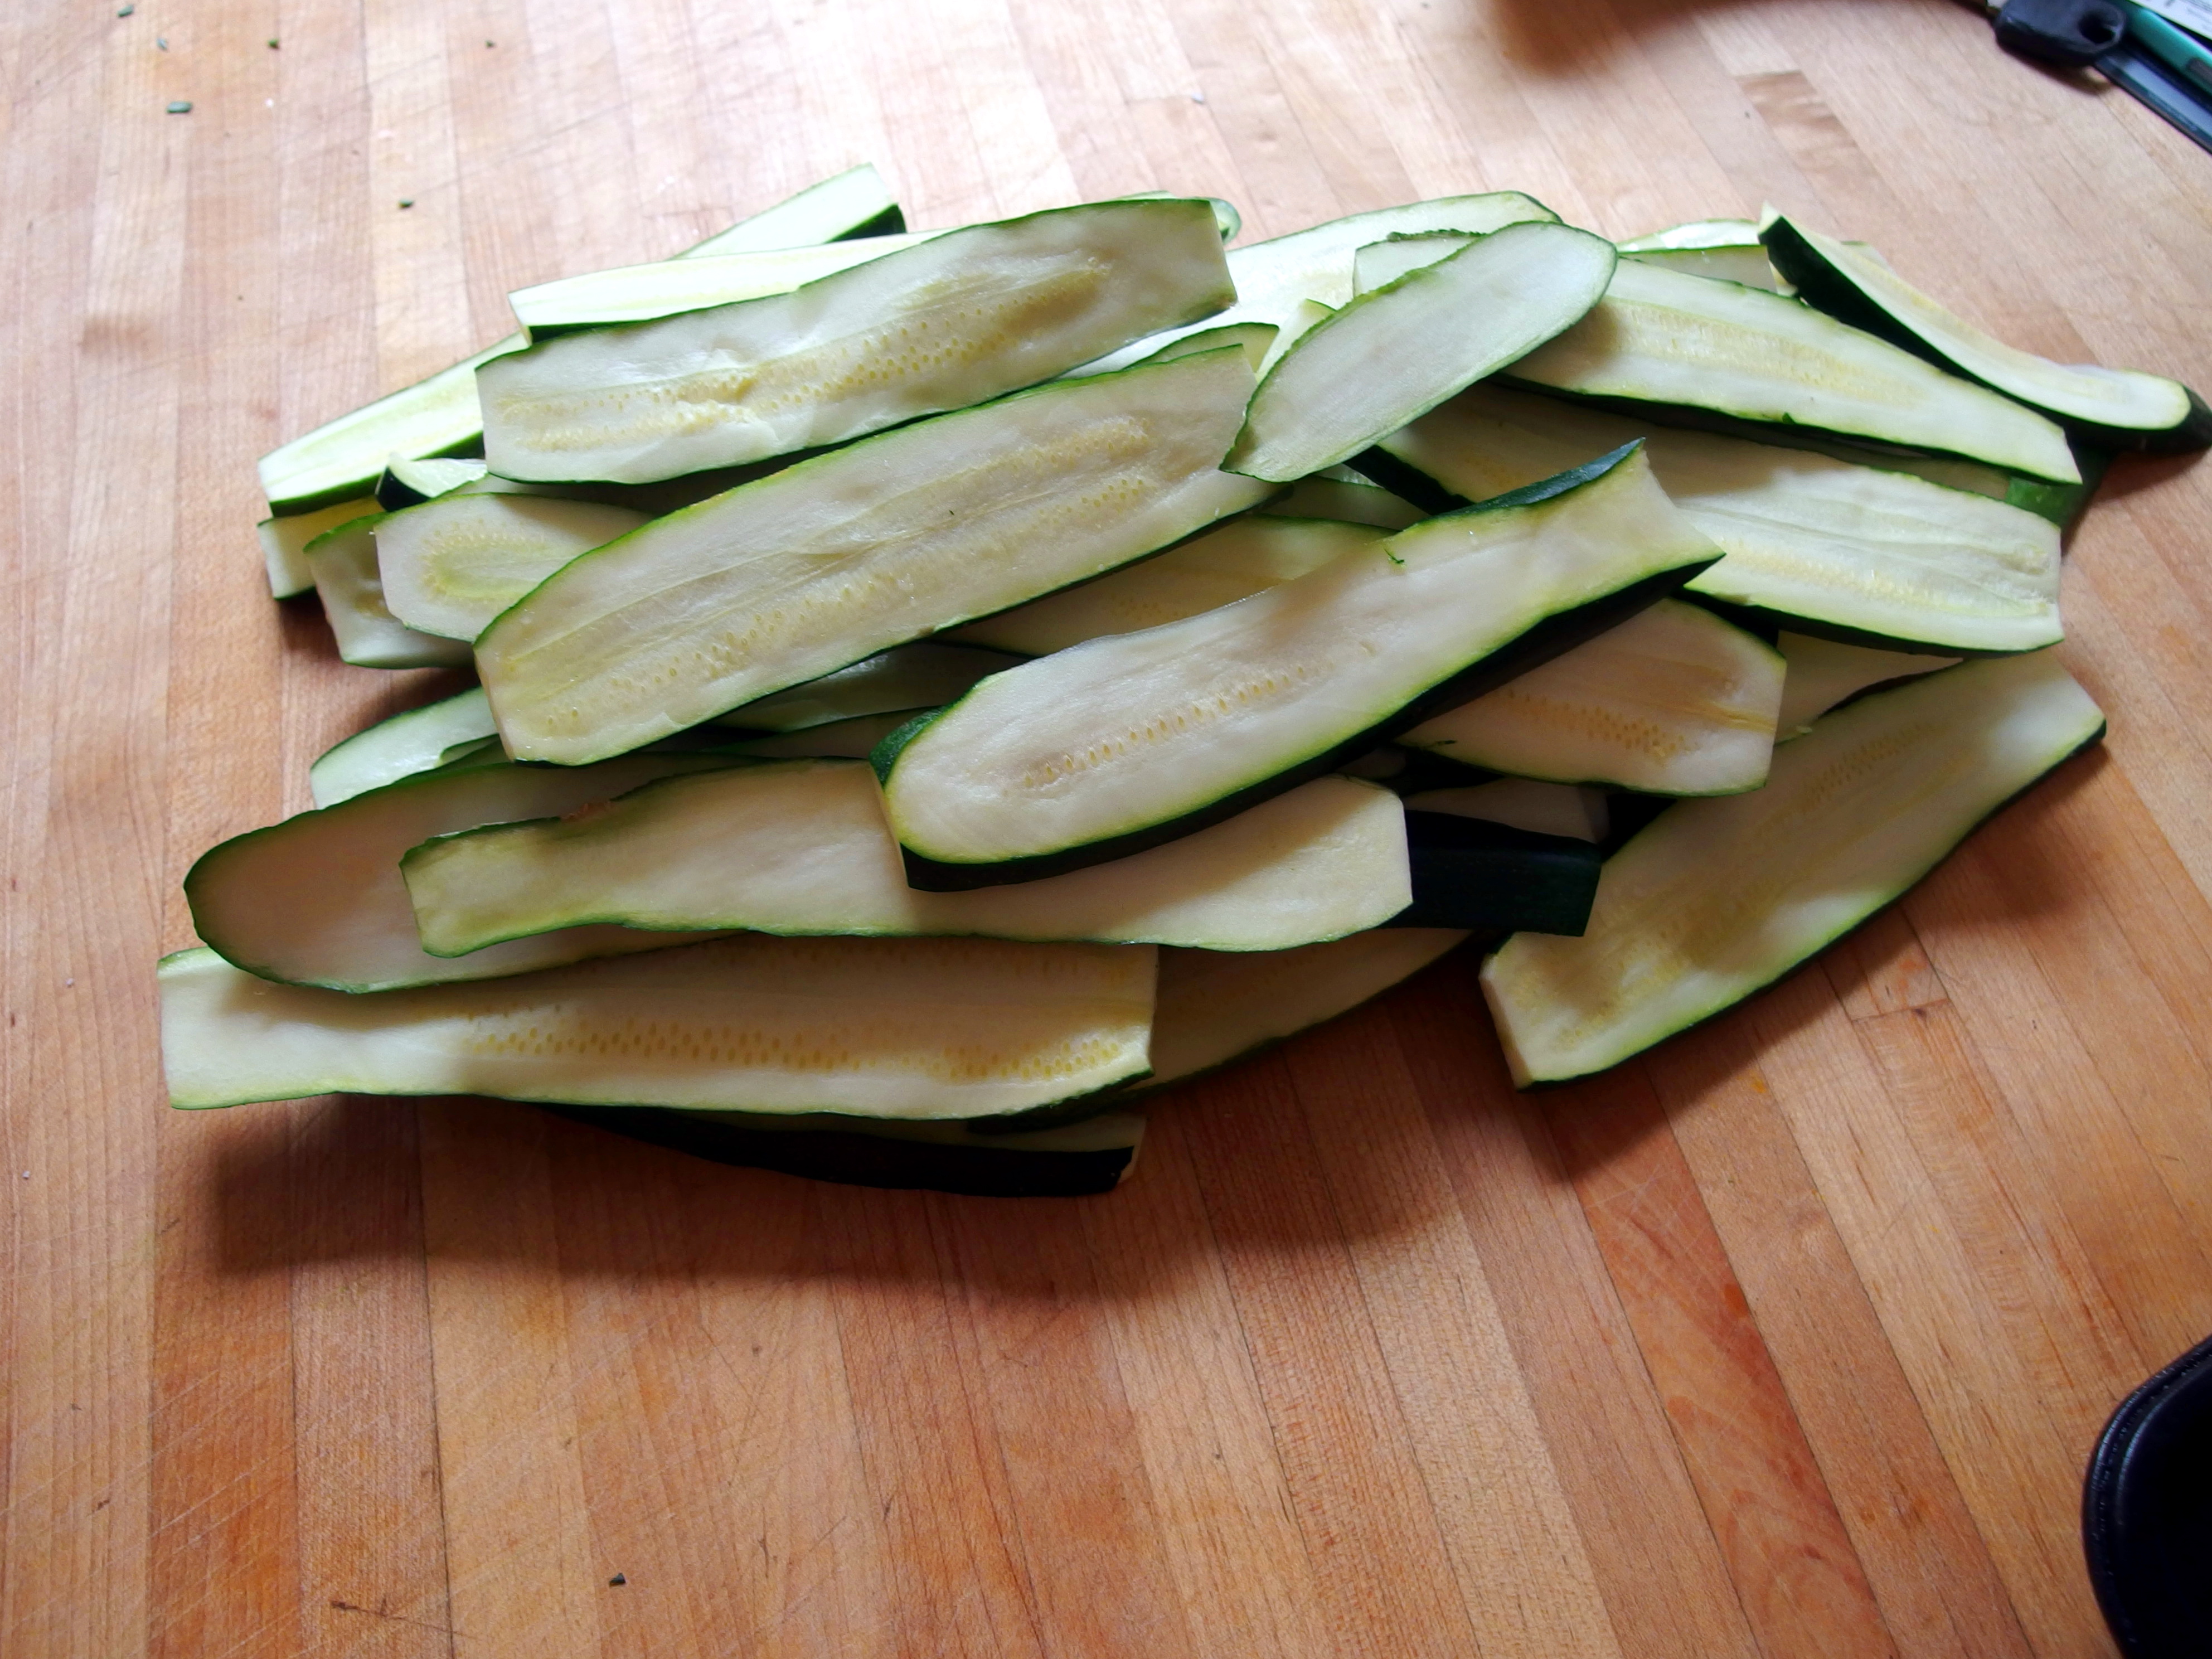
Step number 1 is slicing up your zucchini. You can certainly use a mandolin to slice, but I did it by hand and we really enjoyed having thicker slices of zuc in our lasagna. Vegetables like zucchini, eggplant, and even potato have a LOT of water in them. When you make dishes such as latkes, fritters, or this lasagna it’s really critical that you allow the vegetables to release as must moisture before you cook. So salt your zucchini slices, and layer them in some paper towels so let them sweat it out a bit. You can see from the photo above that the paper towel is pretty much soaked through!!
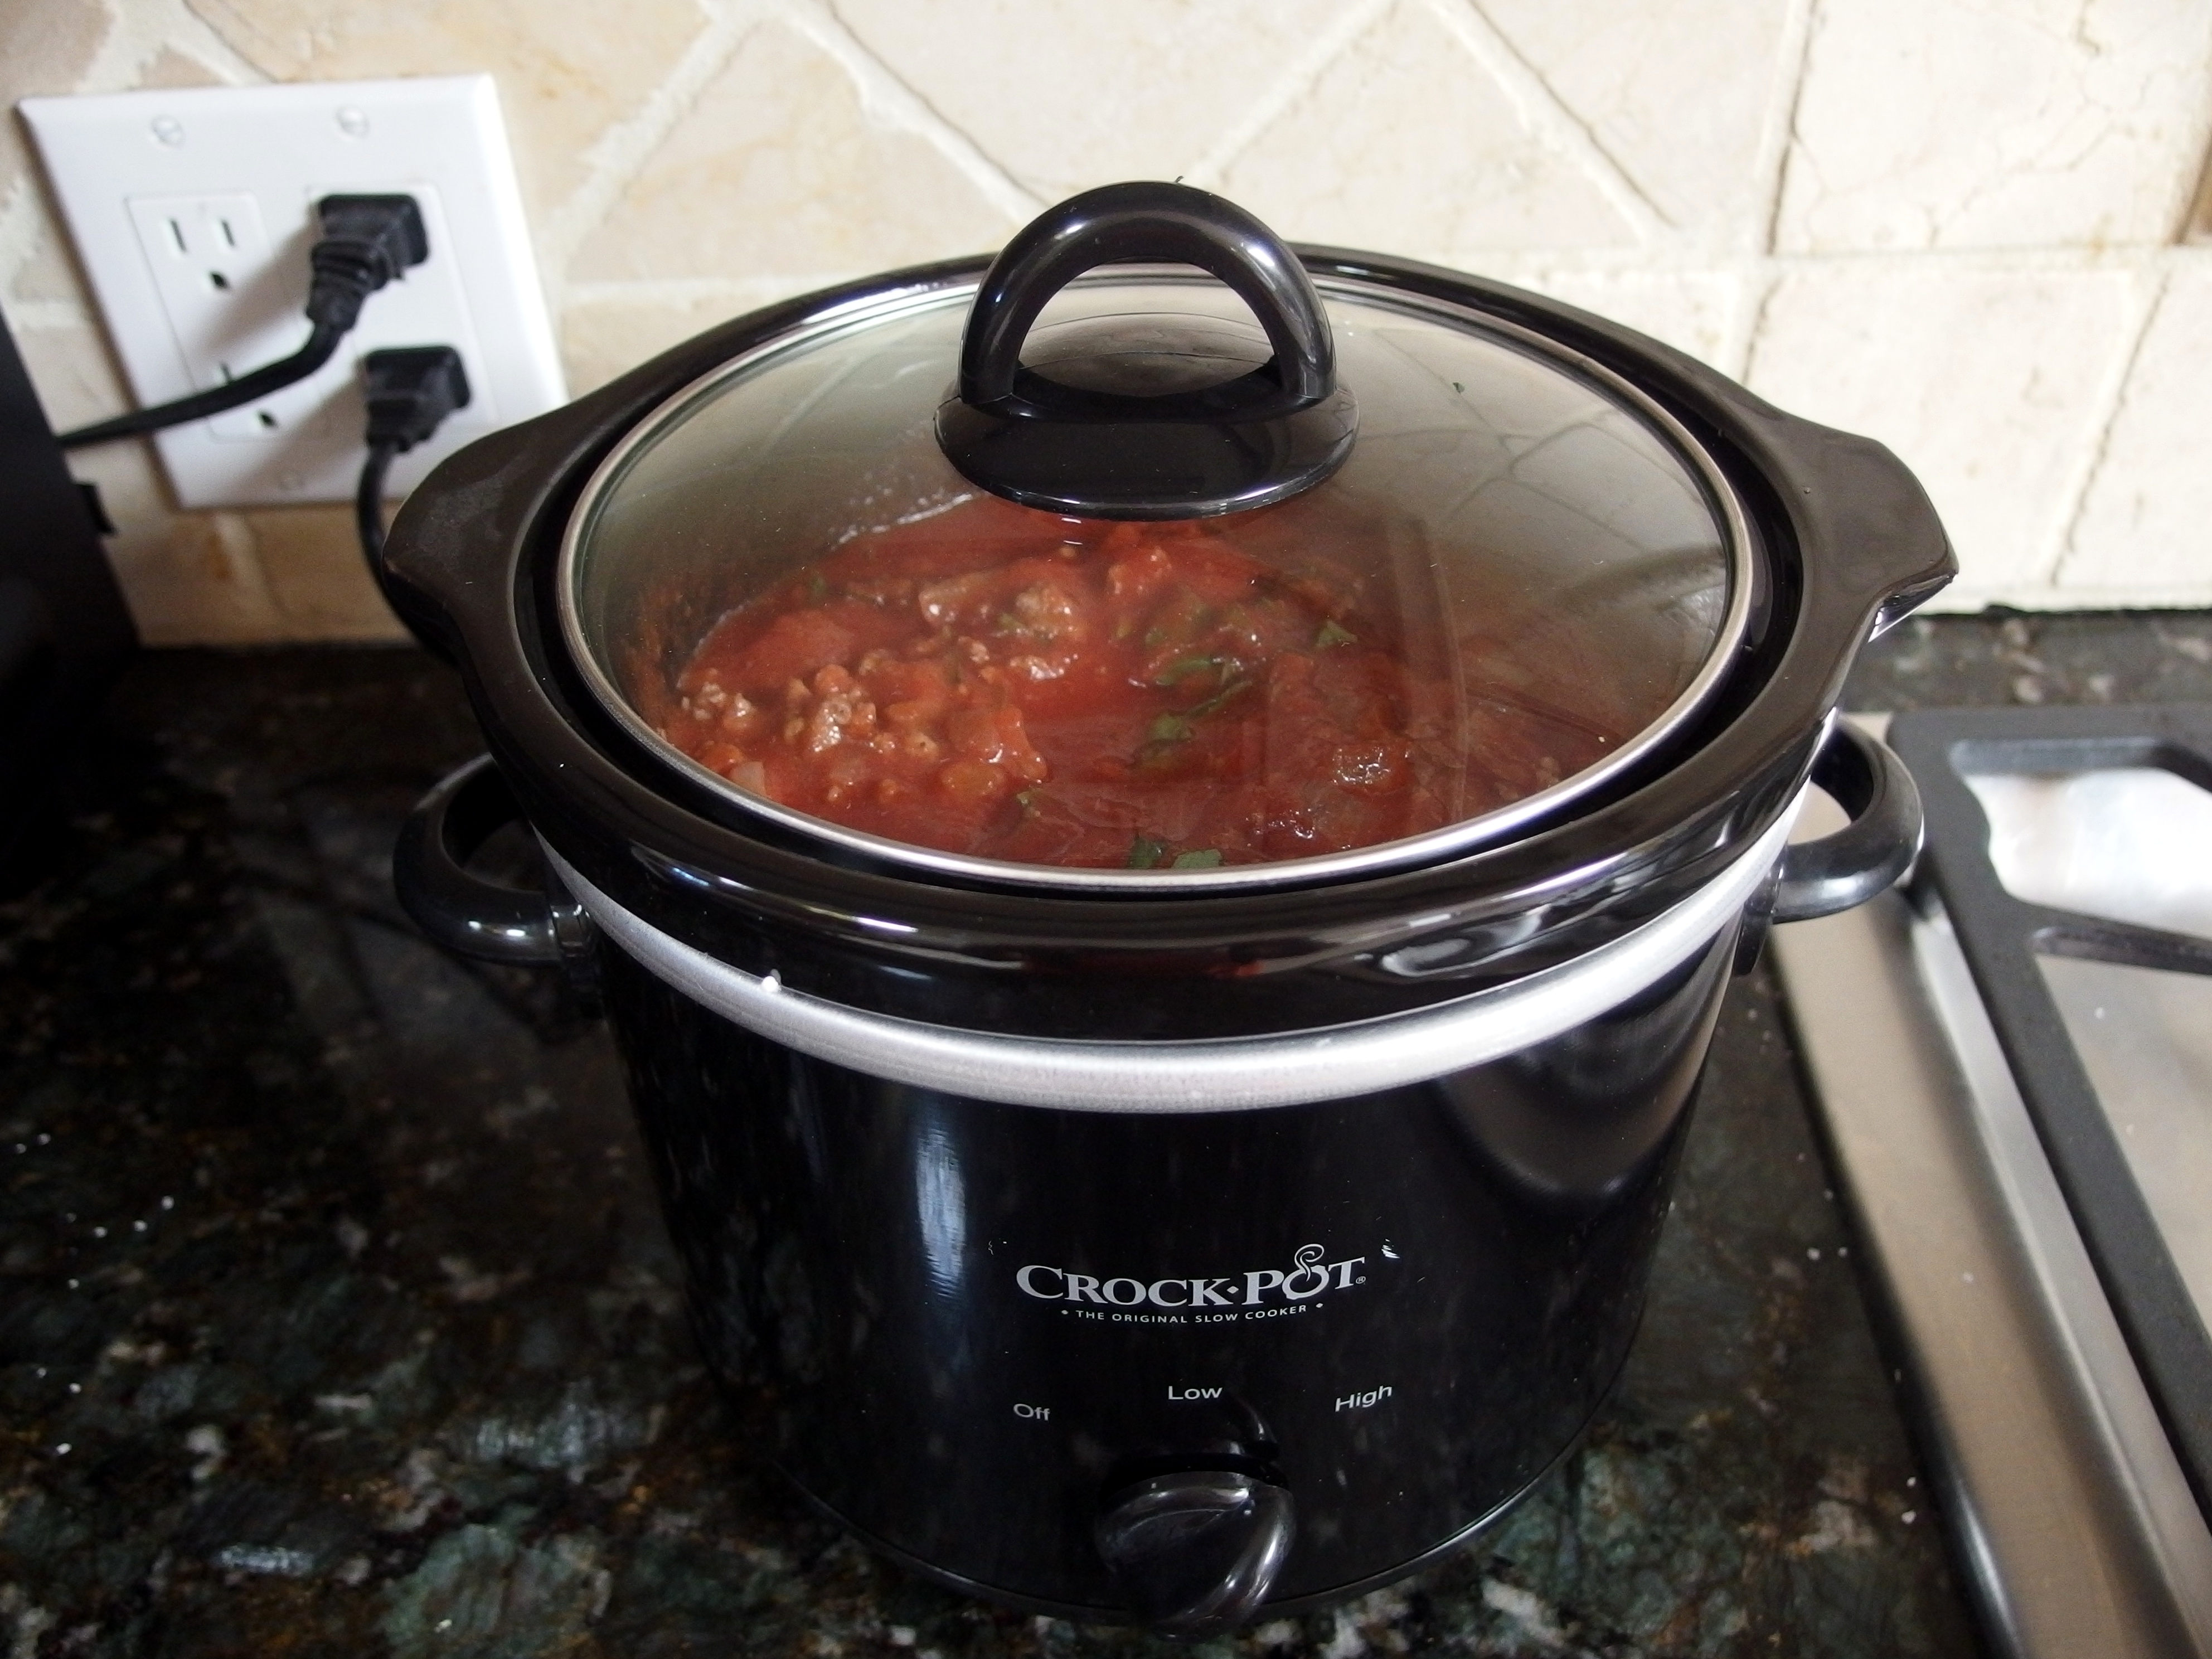
 While you’re drying out those suckers, make your meat sauce. I kept this sauce simple - extra-lean ground beef, onion, crushed tomatoes, and basil. I might add some red wine in next time. Brown the beef and the onions, and then throw in your crockpot to simmer. I think I left my crockpot on high for about about 3 hours, although the sauce could have benefited from the standard 4-6 on high. Aren’t mini crockpots the cutest? This is a 2 QT (lol, QT = cutie) crockpot from Target for $10.
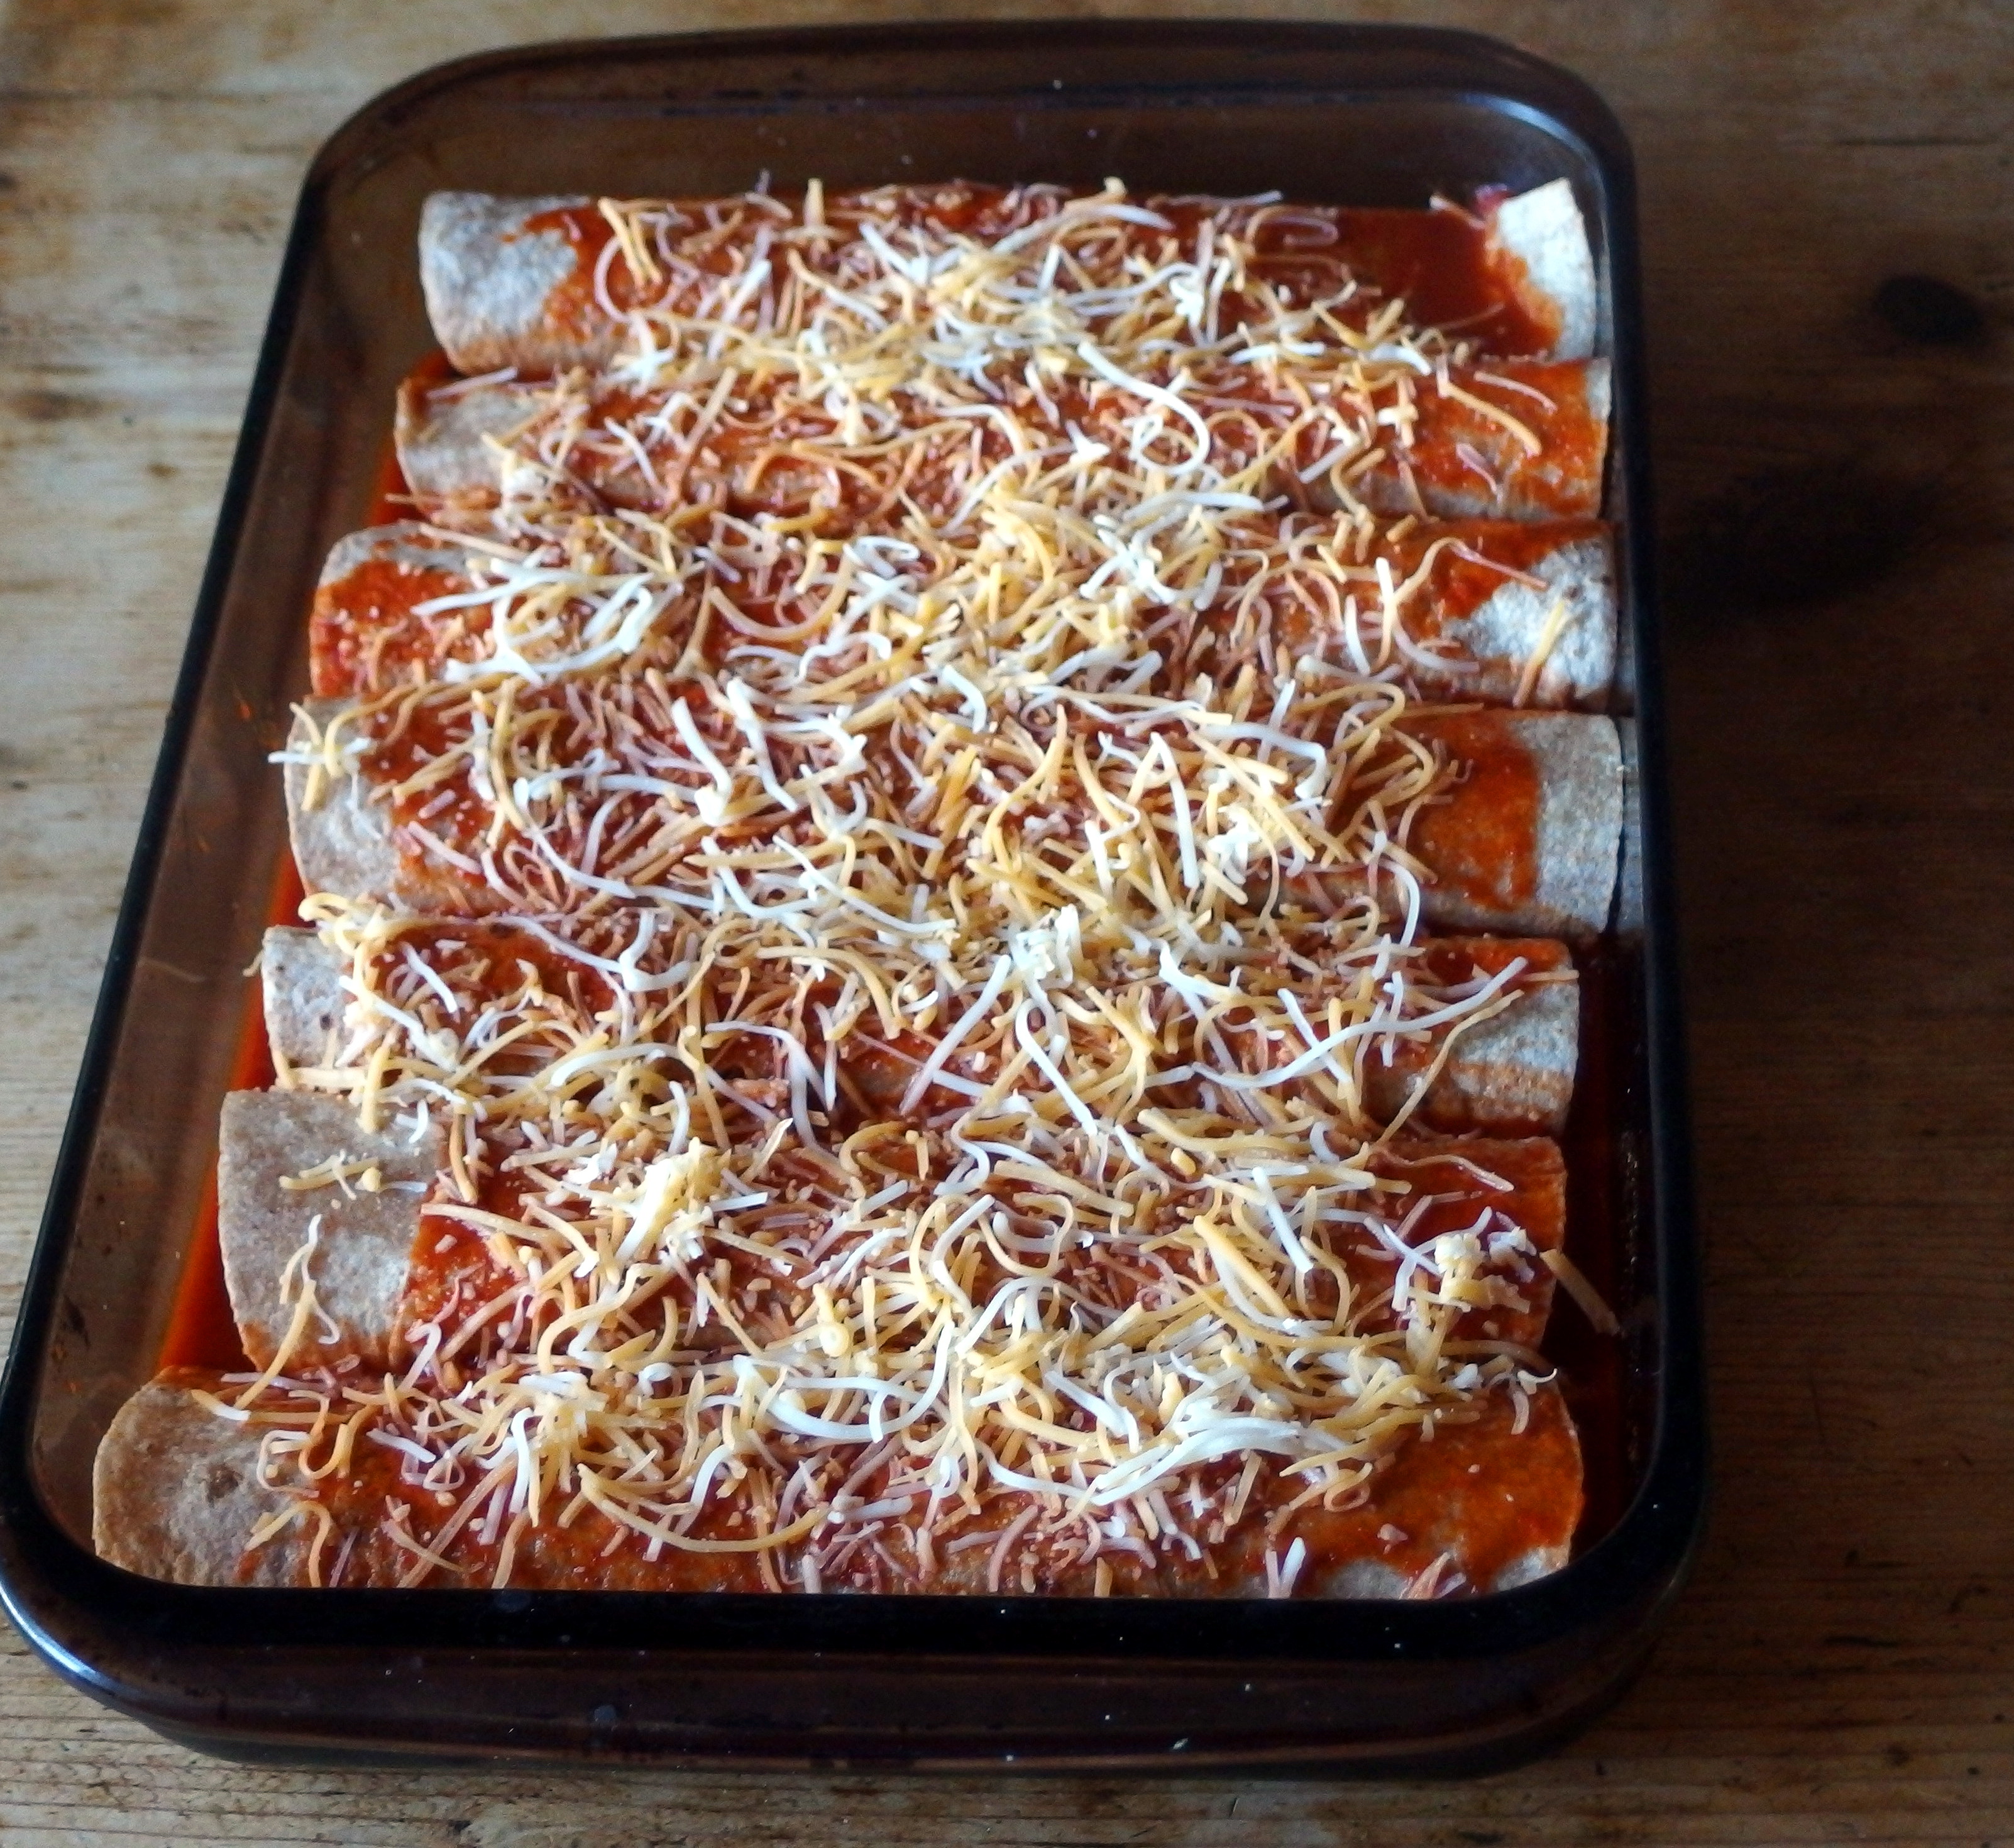
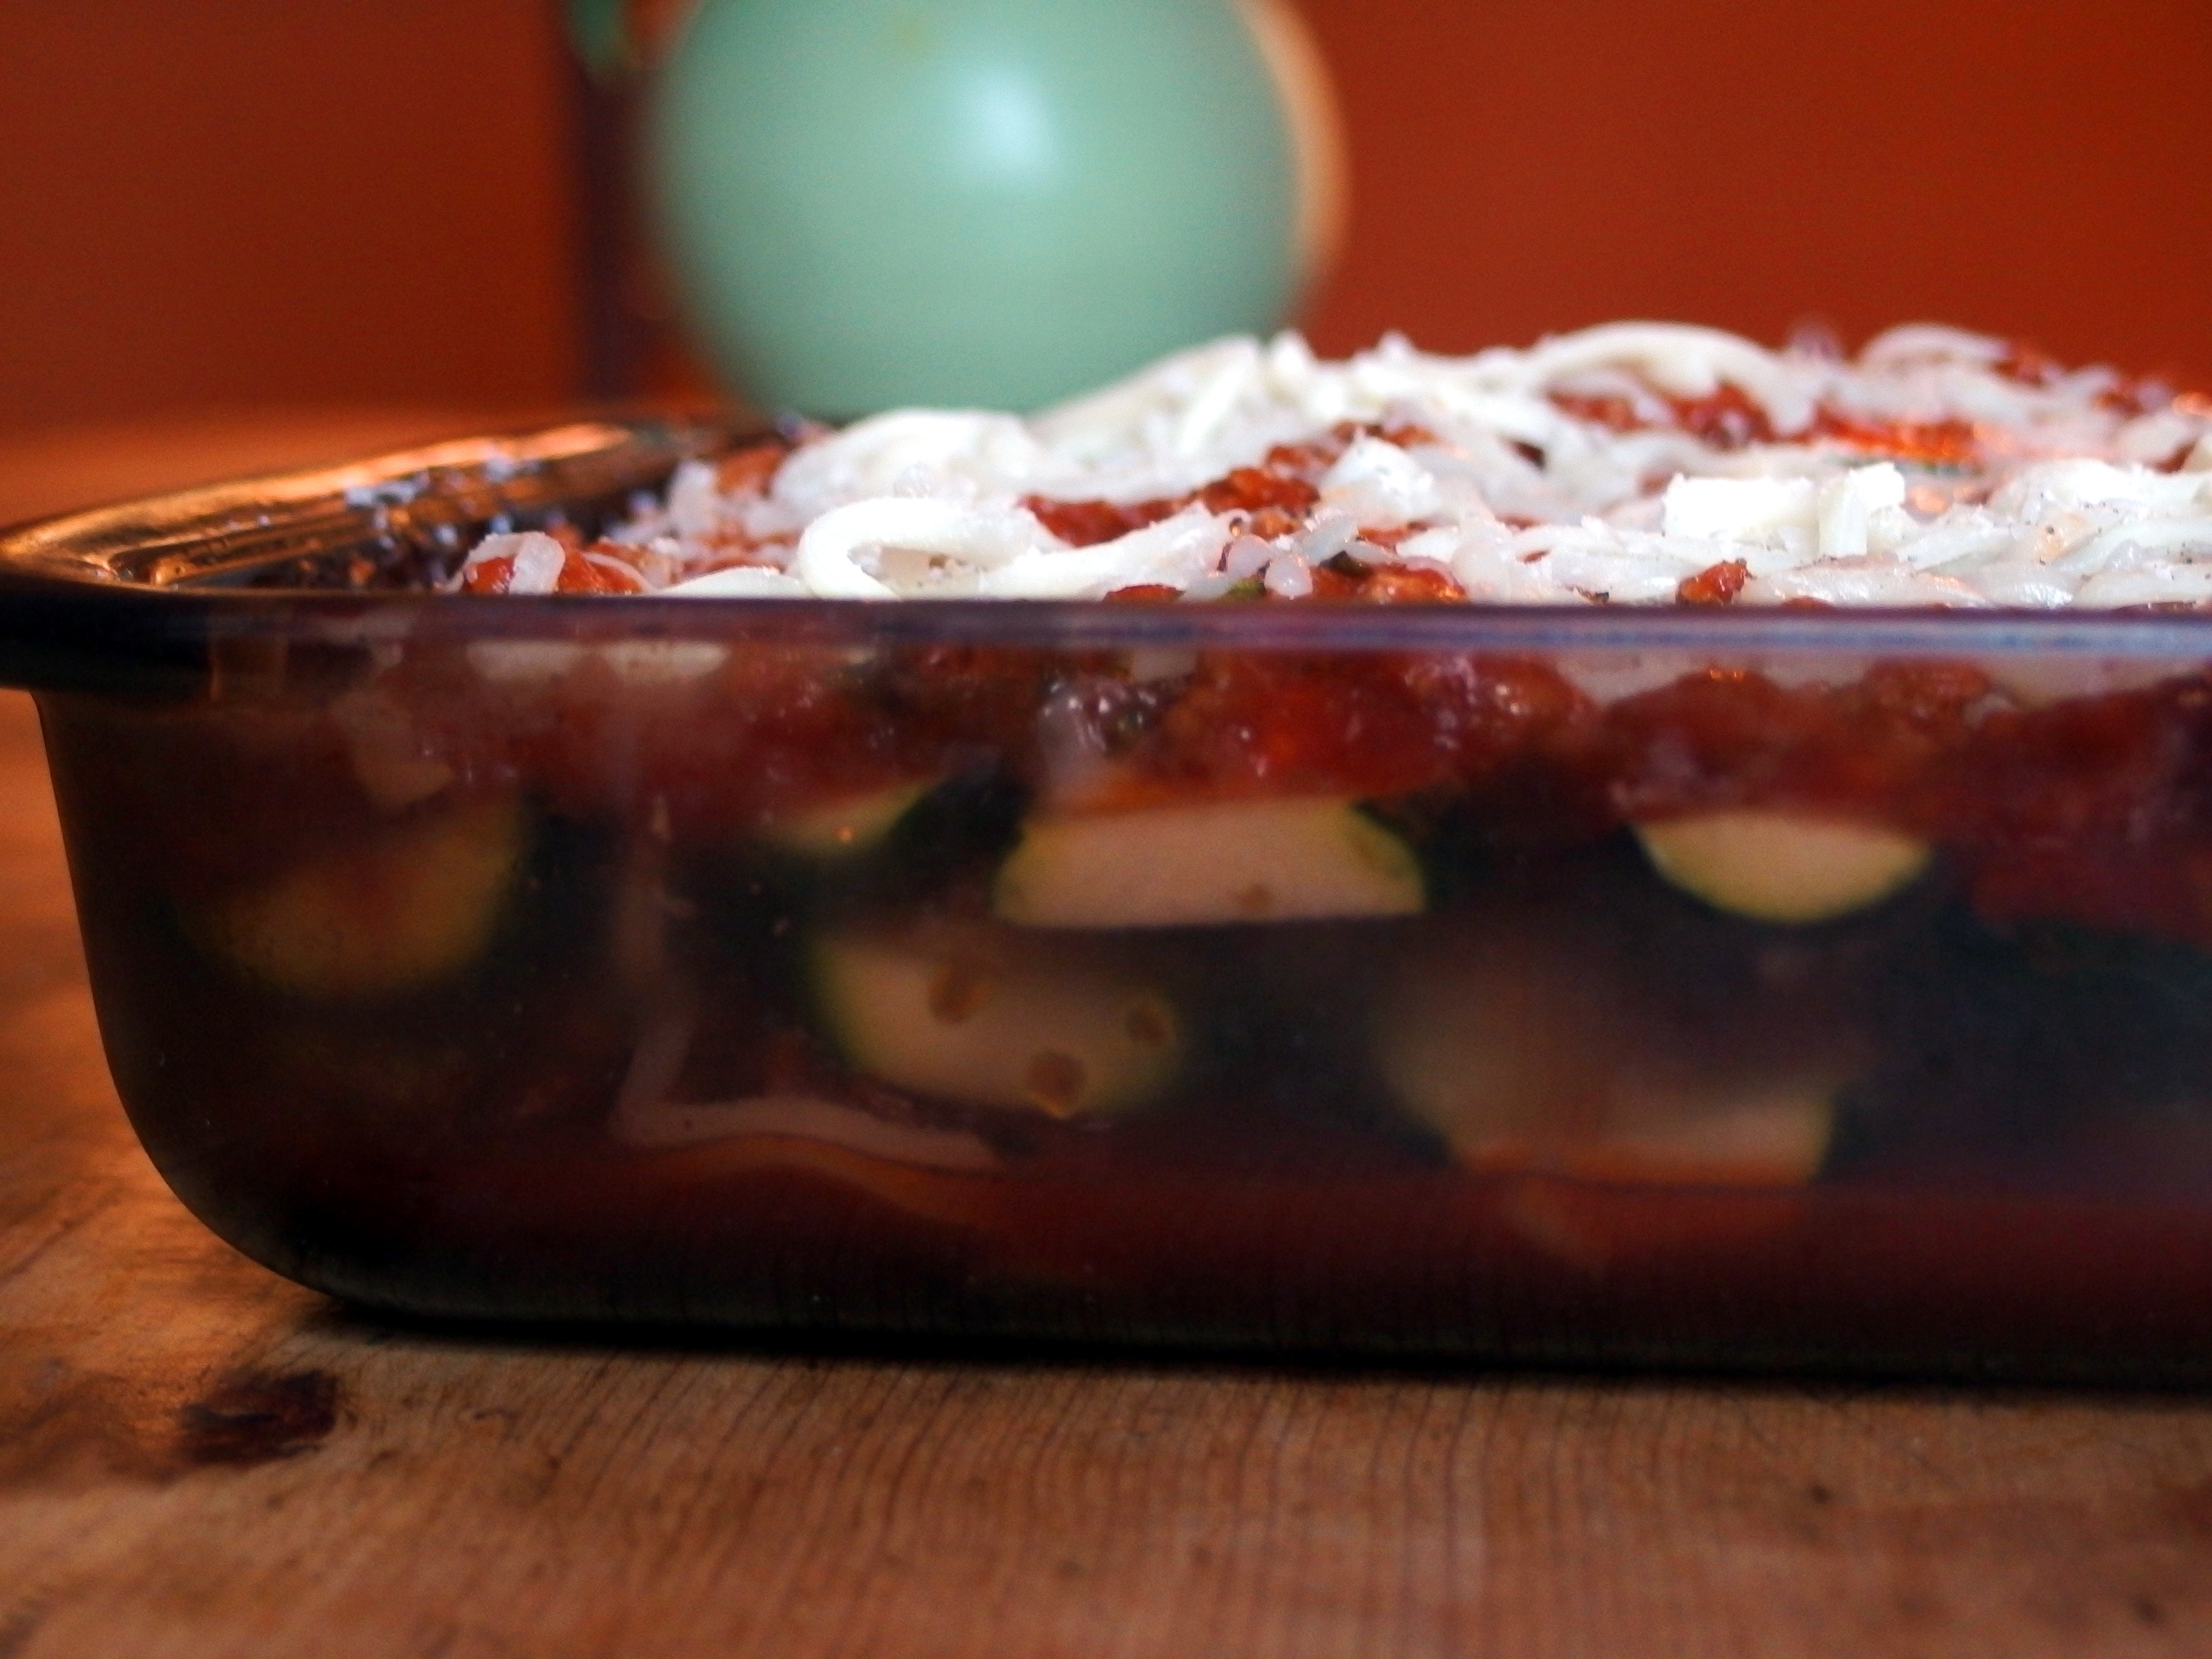
 About an hour before dinner, mix up your ricotta and egg in a little mixing bowl. And let the layering fun begin! Like any other lasagna, start with a layer of zucchini. Spread a little of the ricotta mixture and top with of parmesan cheese. Then layer on your meat sauce, then a sprinkling of part-skim shredded mozzarella. Then repeat until your baking dish is full! Once you get in a good groove, this will probably take you ten minutes max. You can see below that I was able to fit three layers of zucchini into my baking dish, although some of them went in sideways… #homechef #tastesthesame

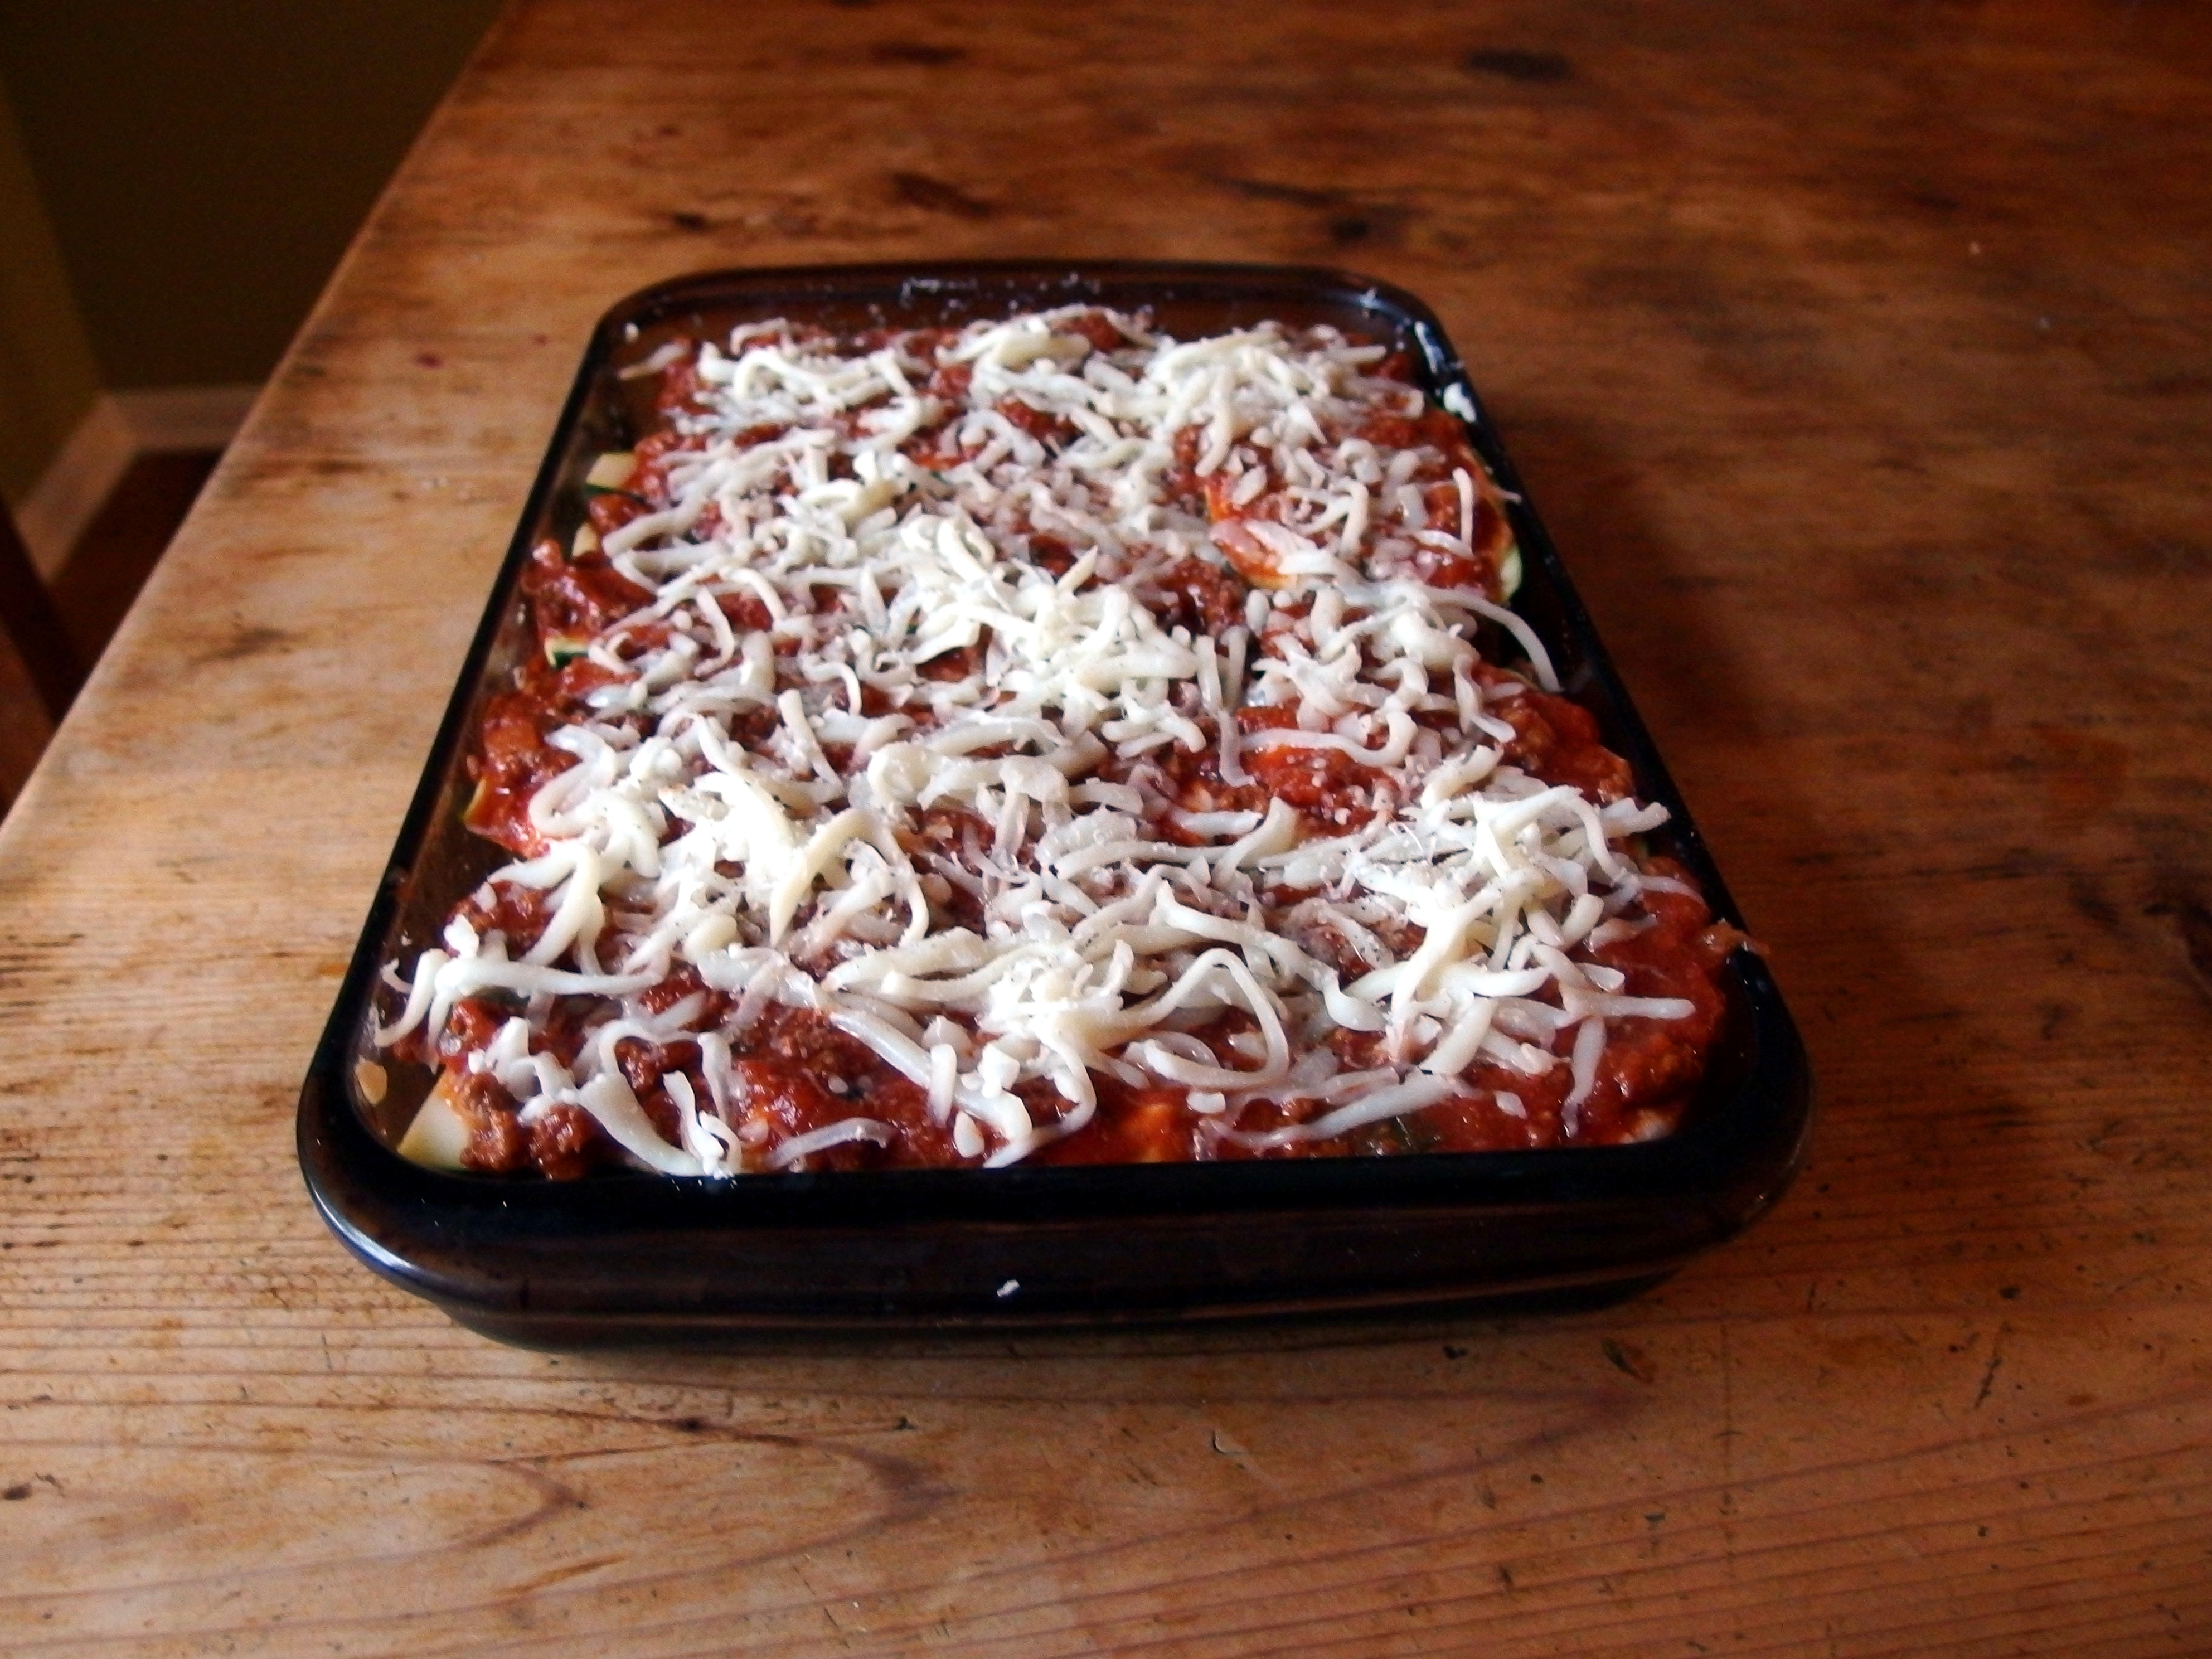
Your beautiful baking tray goes into the oven at 350 degrees F for 30-45 minutes or so. There will be liquid that collects at the bottom, so I drained a little bit of it out before serving. One of my favorite things about cooking this is while it’s in the oven, you can clean up your kitchen so there is very little to clean up afterwards! It’s a great dish for a dinner party because there is very little fuss once it goes into the oven - nothing worse than scrambling to arrange plates of food while your friends are on the couch enjoying wine. Call your guests to the table, and serve! Normally I would say this would serve 6 people, but me and three others somehow polished it off..without the noodles or starchy carbs, you can truly enjoy a large portion!
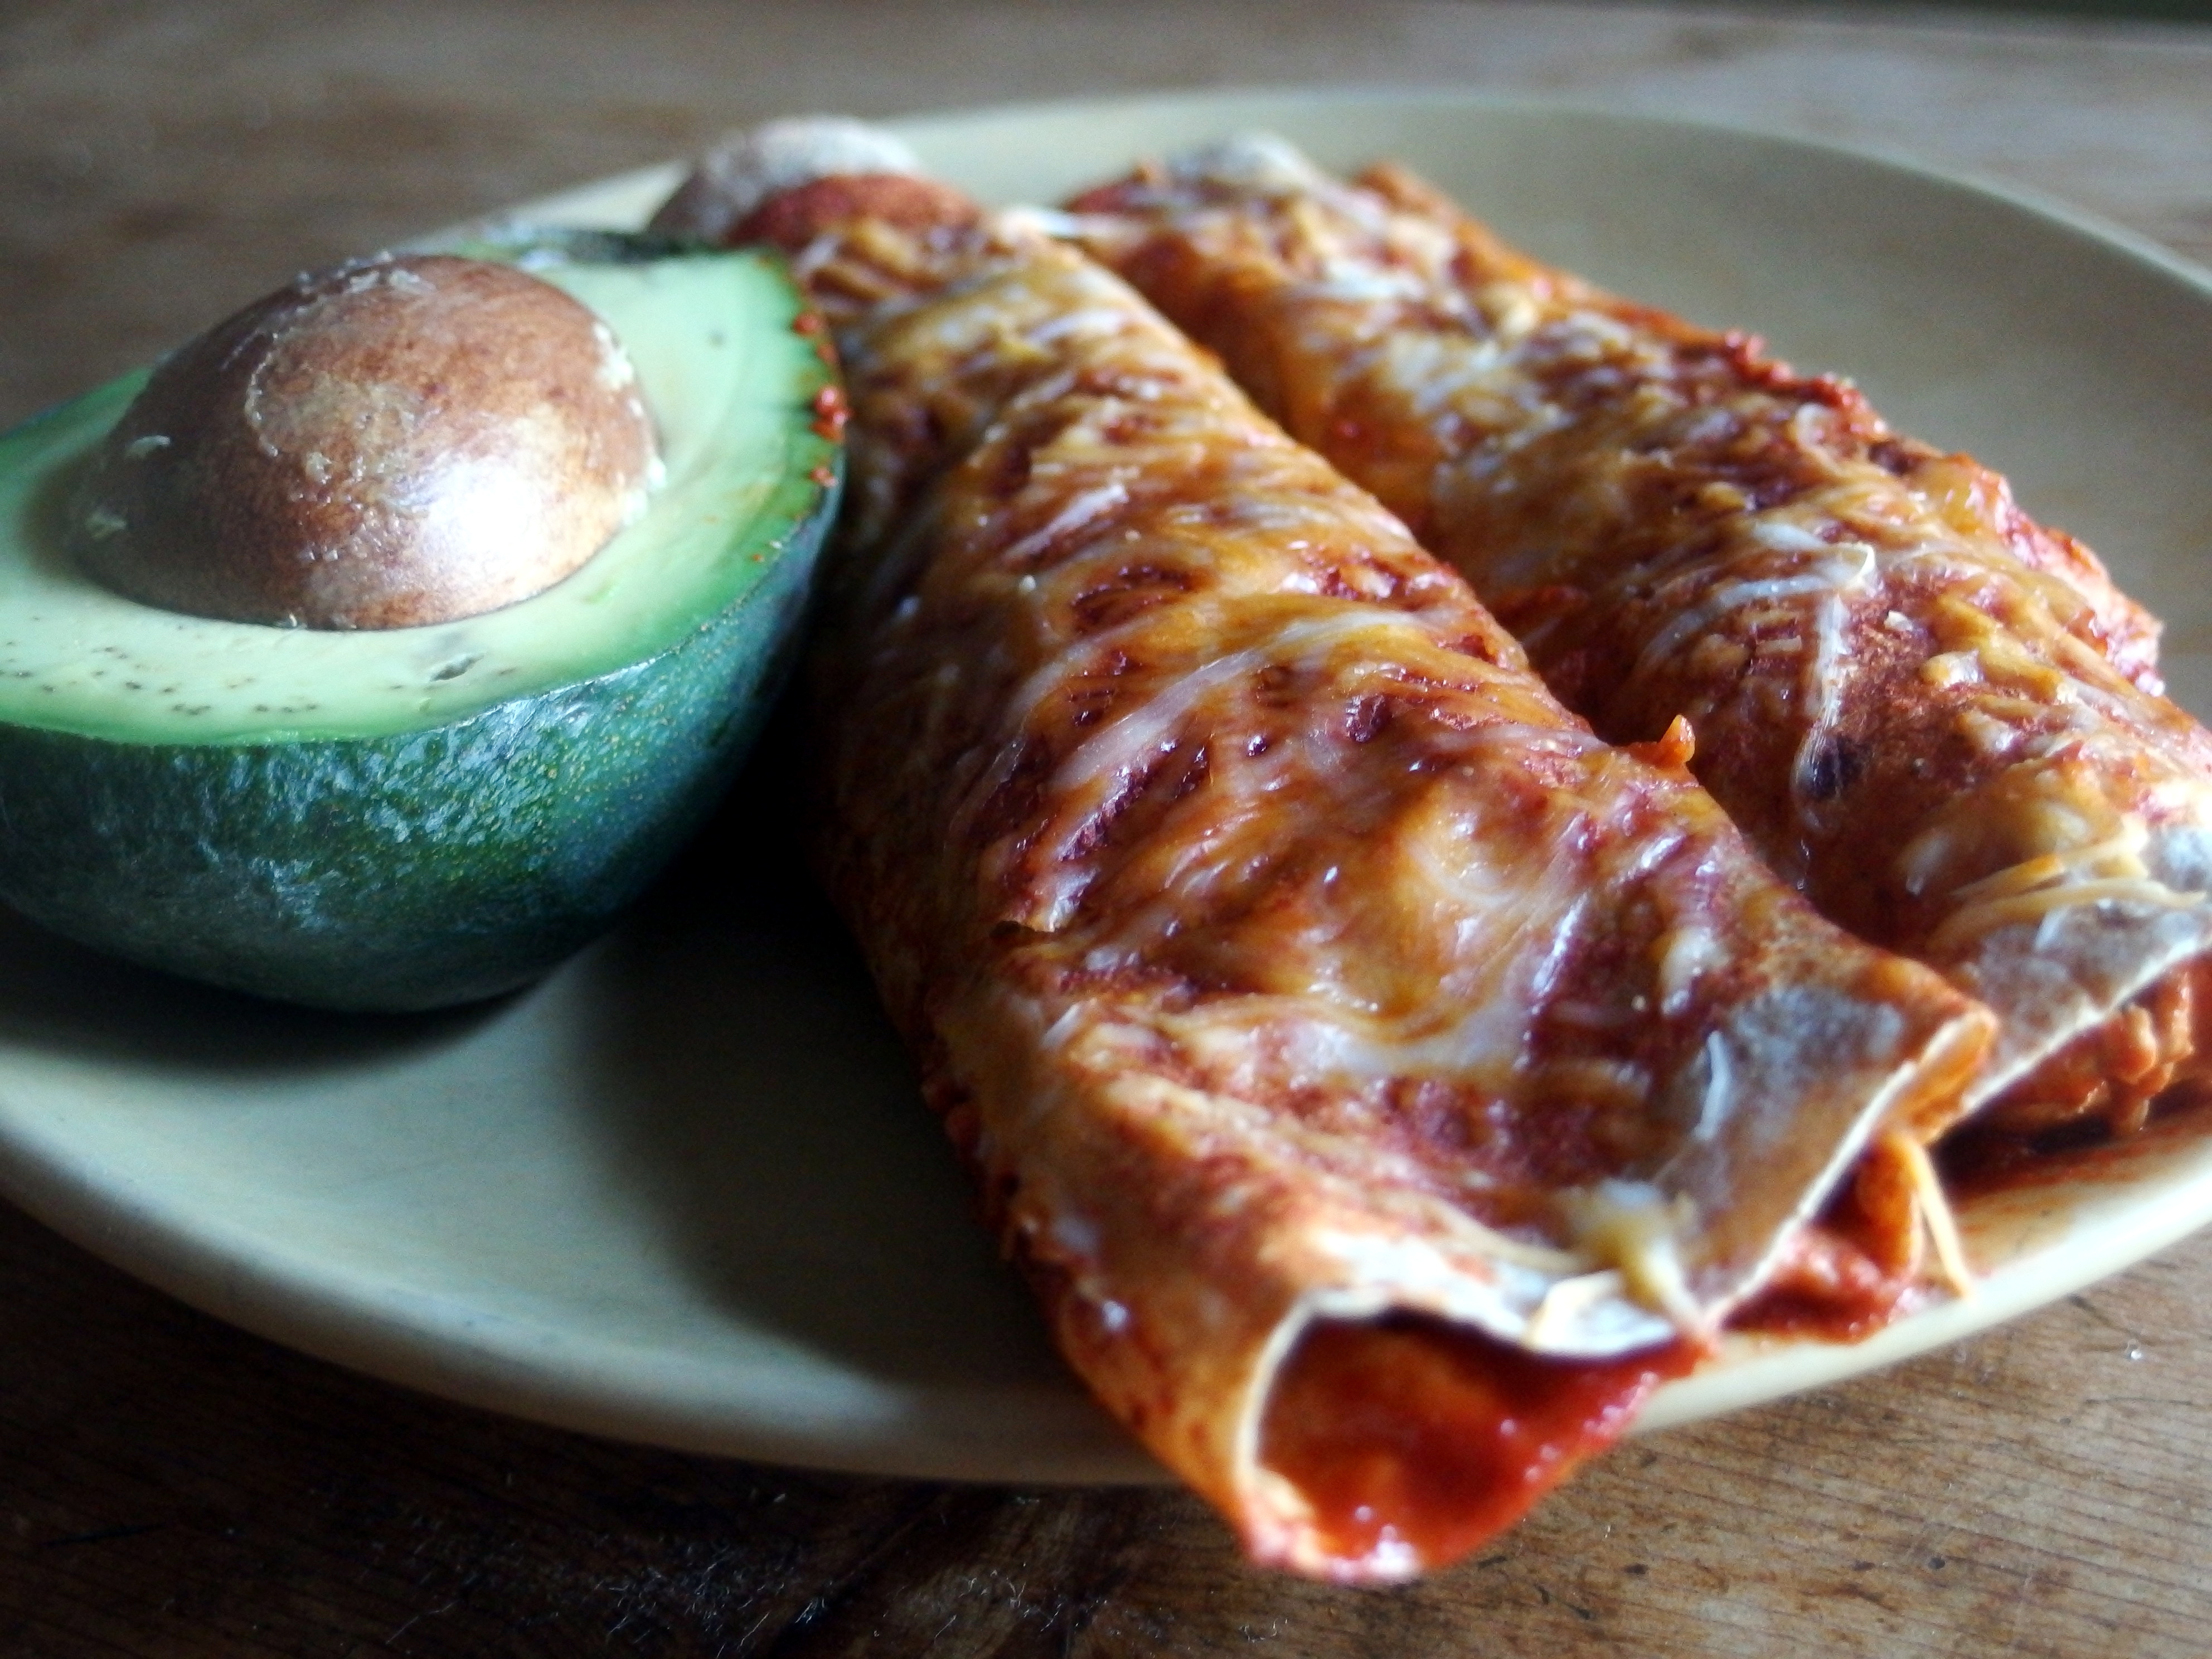
 Hope this inspires you to get a little creative for your Sunday night dinners, and maybe break out of your cooking comfort zone a bit! I wish I had a finished product photo to show you readers…but unfortunately we ate it too fast before I remembered to snap photos. My bad! Send me pix of yours if you make it!

- 8 medium zucchini, sliced lengthwise
- 1 lb ground meat (I used Trader Joe's extra lean beef)
- ½ onion, chopped
- 2 28 oz cans crushed tomatoes
- ¾ cup sliced basil
- 1 cup part-skim shredded mozzarella cheese
- ¾ cup part-skim ricotta
- 1 egg
- Olive oil
- ¾ cup parmesan cheese
- Slice the zucchini into "noodles" lengthwise, keeping as thin as possible
- Place the zucchini onto paper towels and sprinkle salt over. Cover with another layer of paper towels to drain the water
- In the meantime, turn on a saucepan on the stove at medium heat and sweat out your chopped onion in some olive oil
- Add your beef and cook the meat through, about 5-8 minutes
- Turn your crockpot on high, and add in the meat and onions mixture, the crushed tomatoes, and your basil. Add in some red wine for good measure, if you'd like!
- Let cook in the crockpot for 3-4 hours on high
- About an hour before serving dinner, mix the ricotta, parmesan and an egg in a small mixing bowl
- Preheat your oven to 350 degrees F
- Layer one layer of zucchini noodles in your baking dish
- Then brush on a layer of the cheese and egg mixture
- Cover with a layer of the meatsauce
- Repeat until you can't fill that baking dish any longer!
- Top with more mozzarella cheese before baking
- Pop in the oven at 350 degrees F for 30-45 mins and until all nice and bubbly
- If there is still a lot of liquid at the bottom of your baking dish, feel free to drain before serving
- Serve piping hot to guests